Approval Workflow
Agave AP Automation routes invoices through a structured approval process — from initial receipt all the way through to your ERP. This guide walks through each stage of the workflow.
Step 1: Invoice Intake
Invoices enter Agave AP Automation in one of two ways:
- AP Inbox — Invoices emailed to your dedicated AP inbox are automatically ingested and processed.
- Manual Upload — Admins can manually upload invoice files directly within the tool.
Once received, Agave extracts and prepopulates invoice data (vendor, amount, date, etc.) using AI, and the invoice enters the approval queue in "Draft" status.
If auto-forwarding to reviewer is enabled for a project, this step is skipped and the invoice routes directly to the assigned reviewer. See Step 2 below.
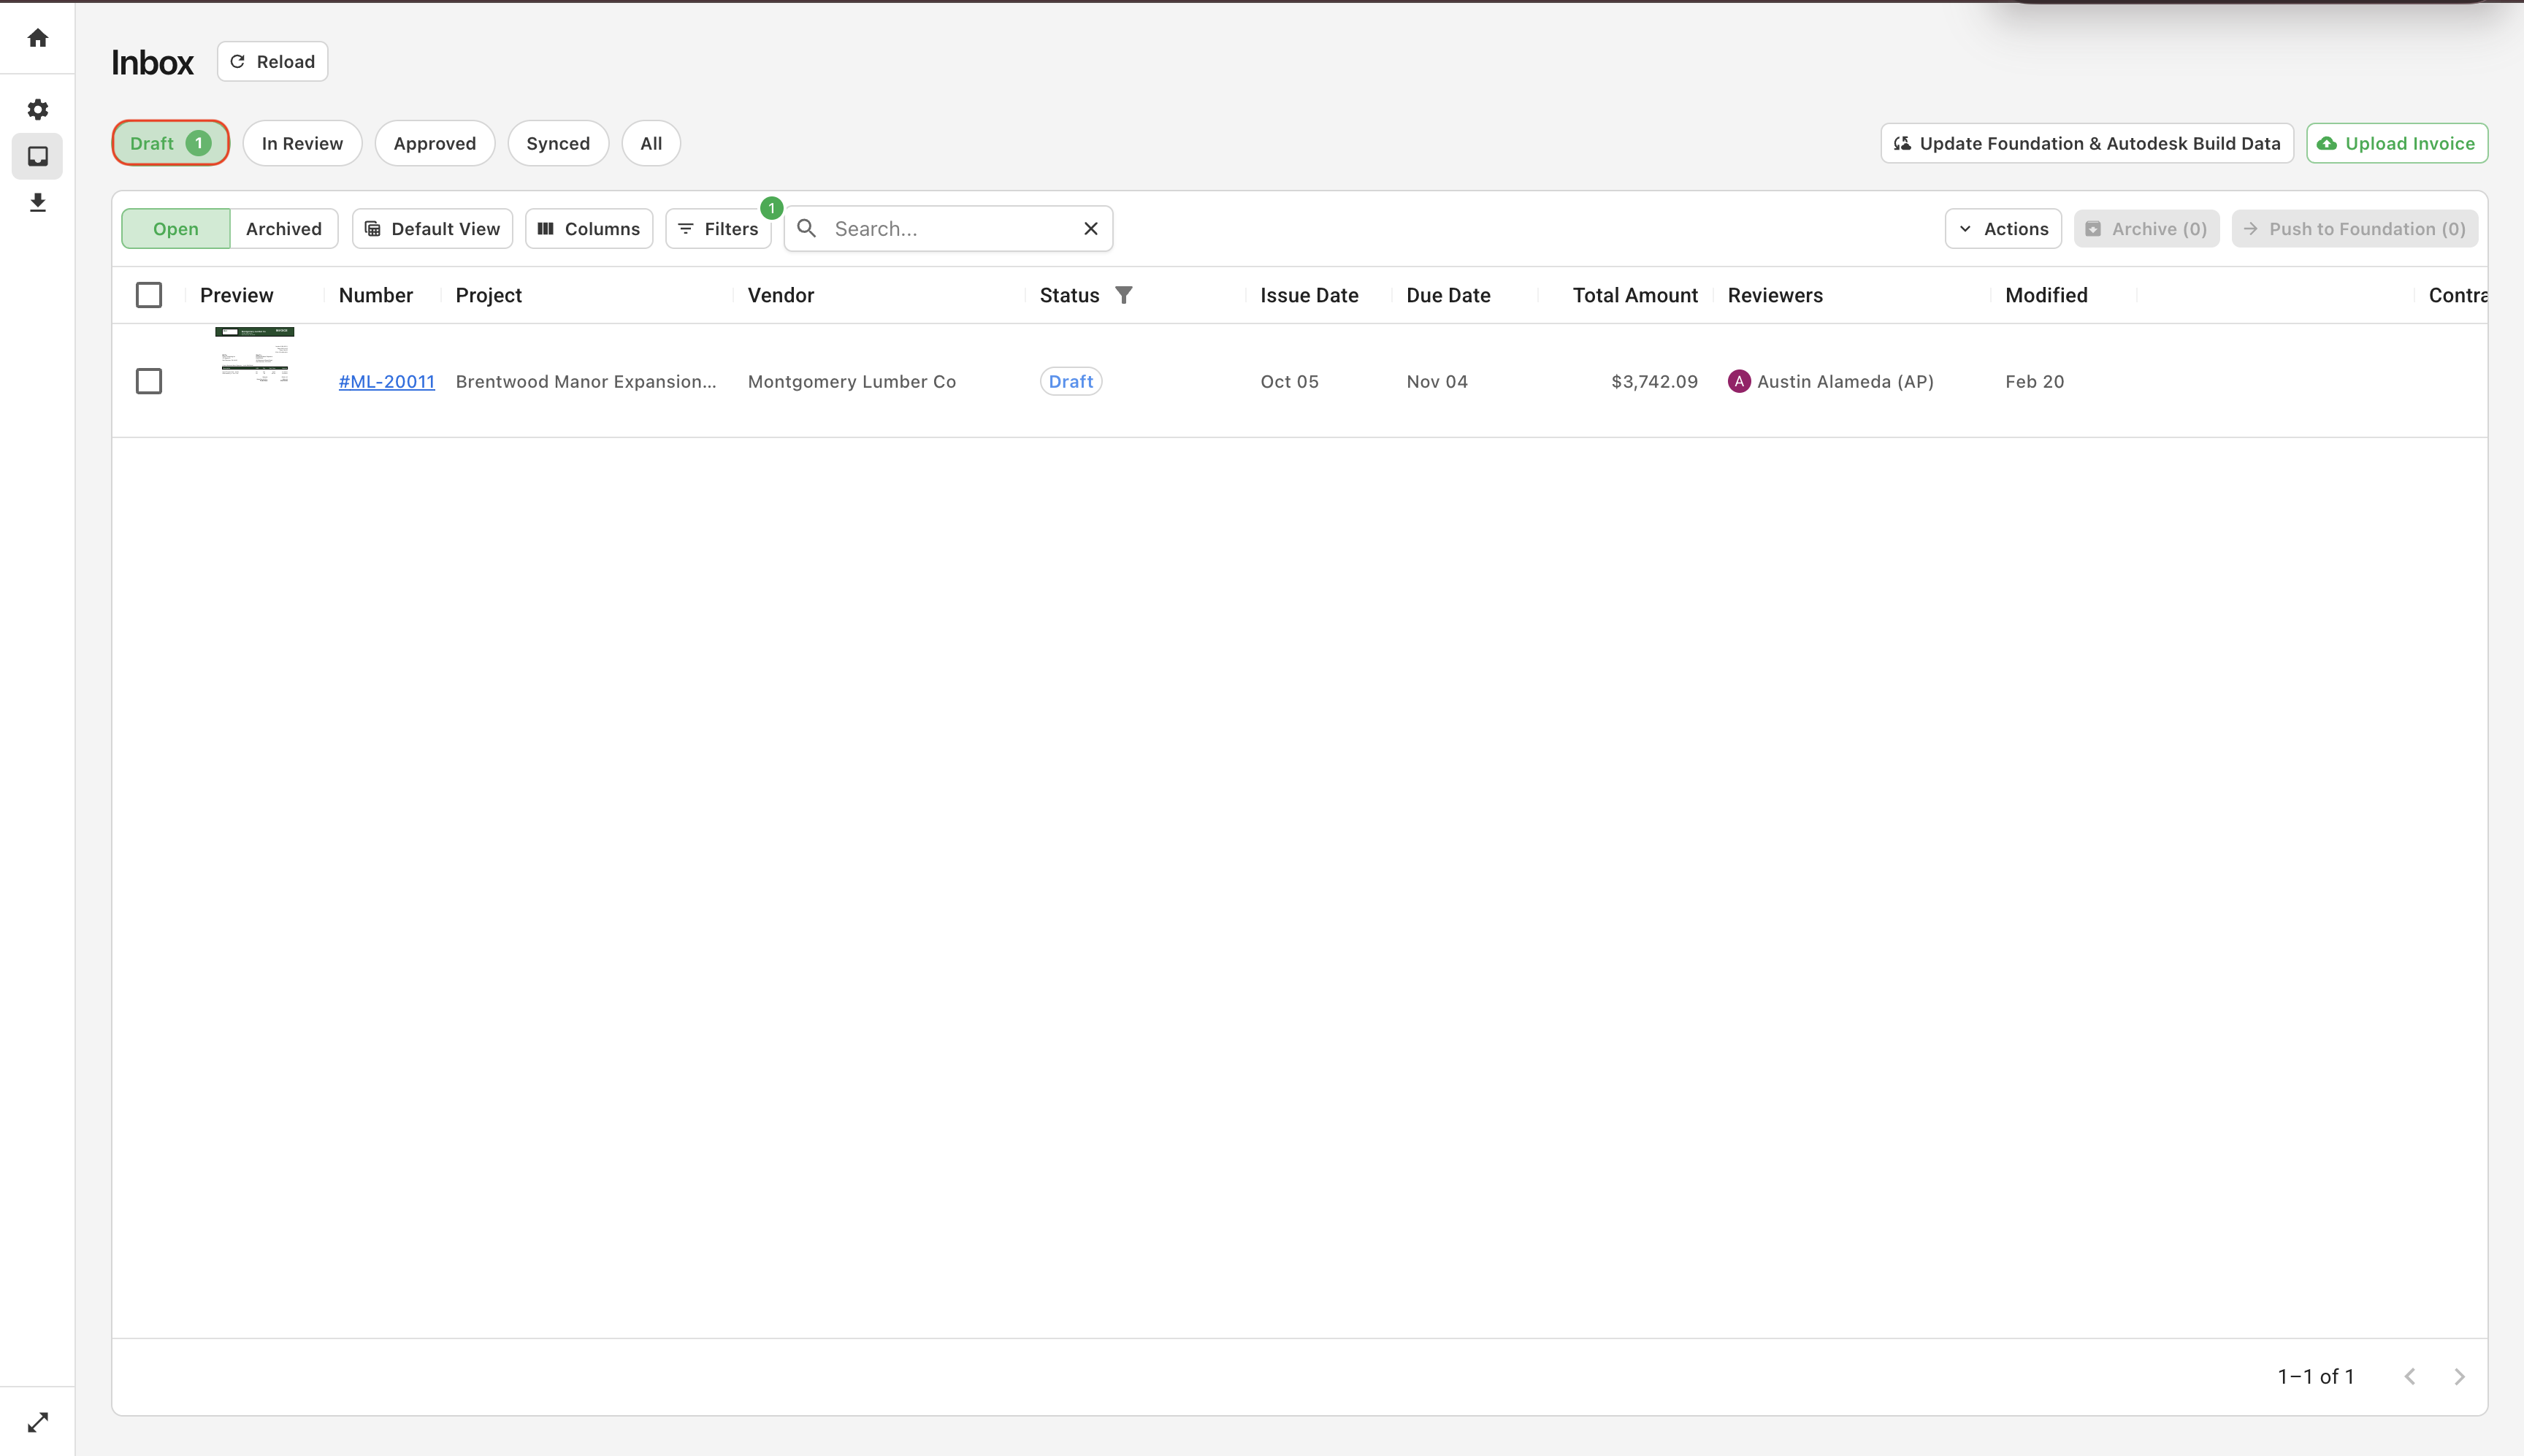
Once in "Draft" status, the invoice is automatically routed to your company's AP Admin for initial review, and to direct the invoice to the required Reviewer for approval.
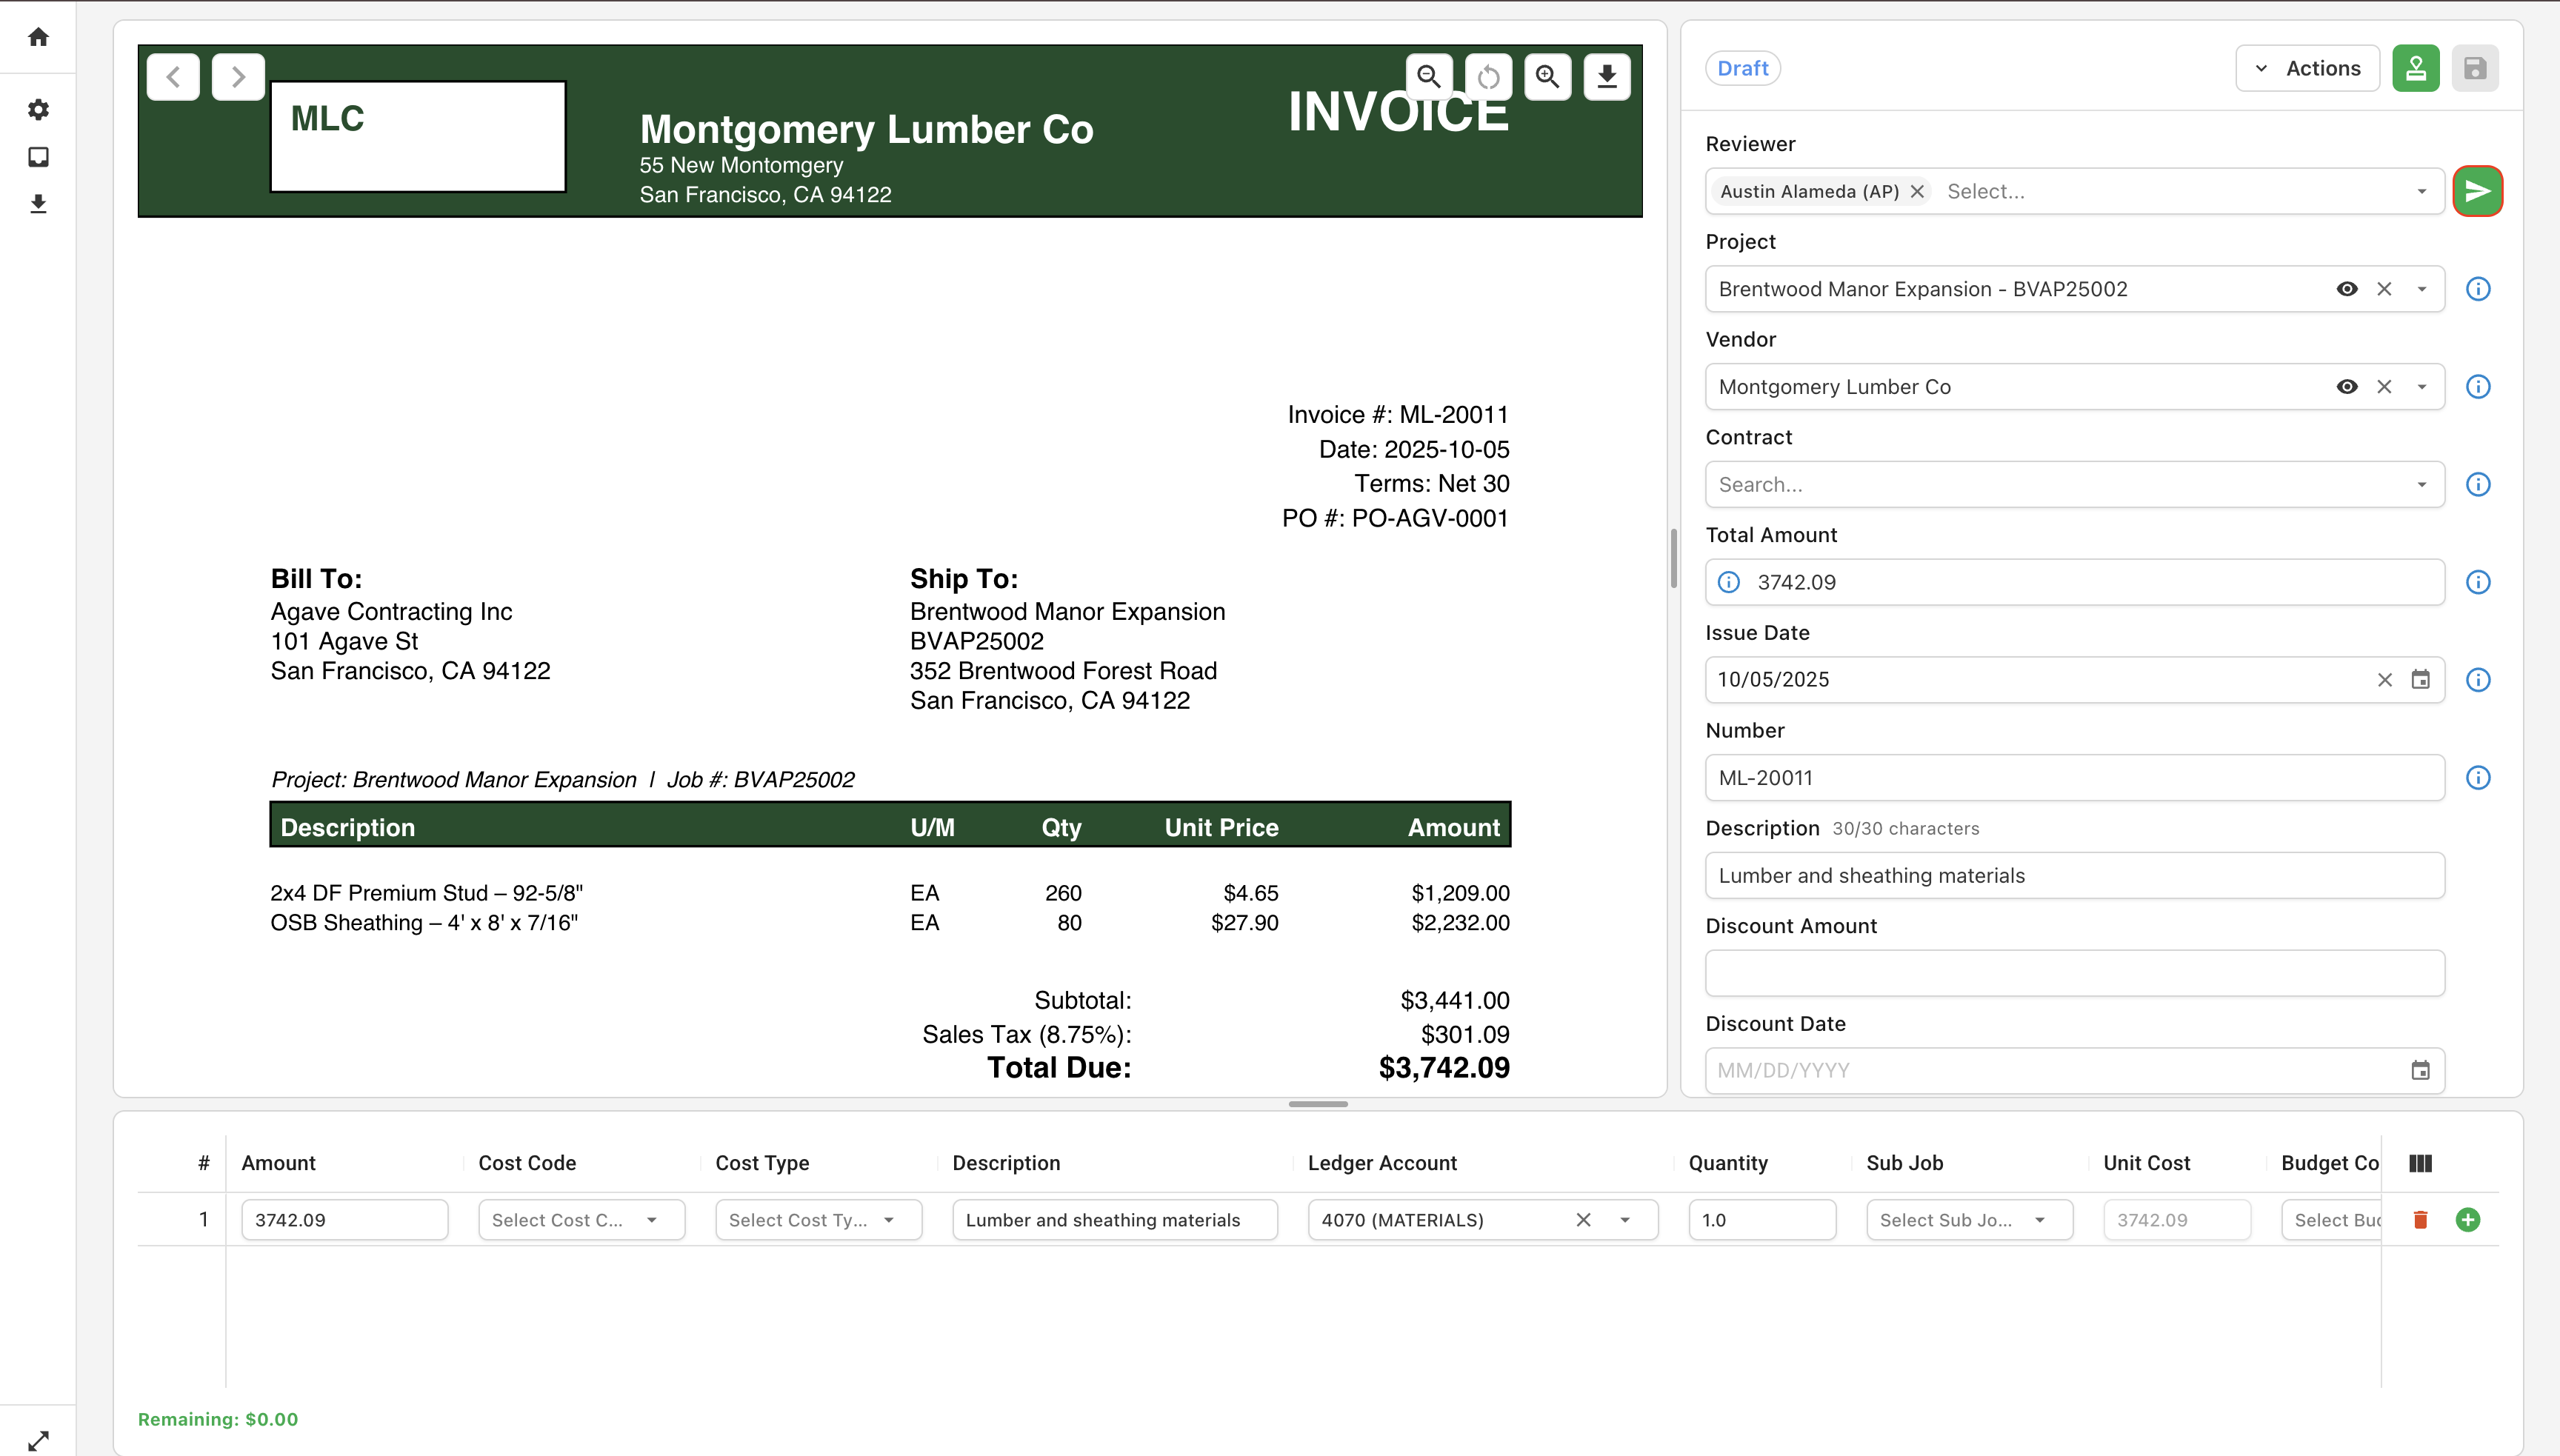
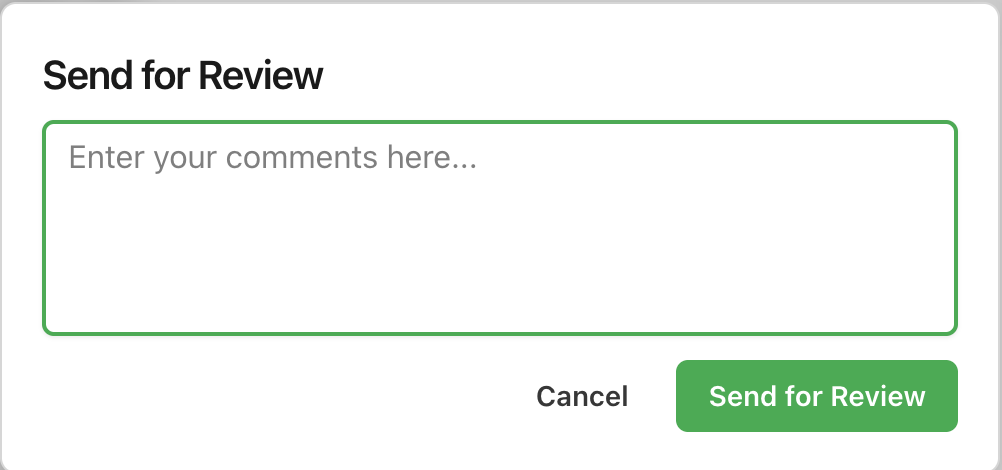
Upon sending, the AP Admin can also add any comments on the invoice for the Reviewer
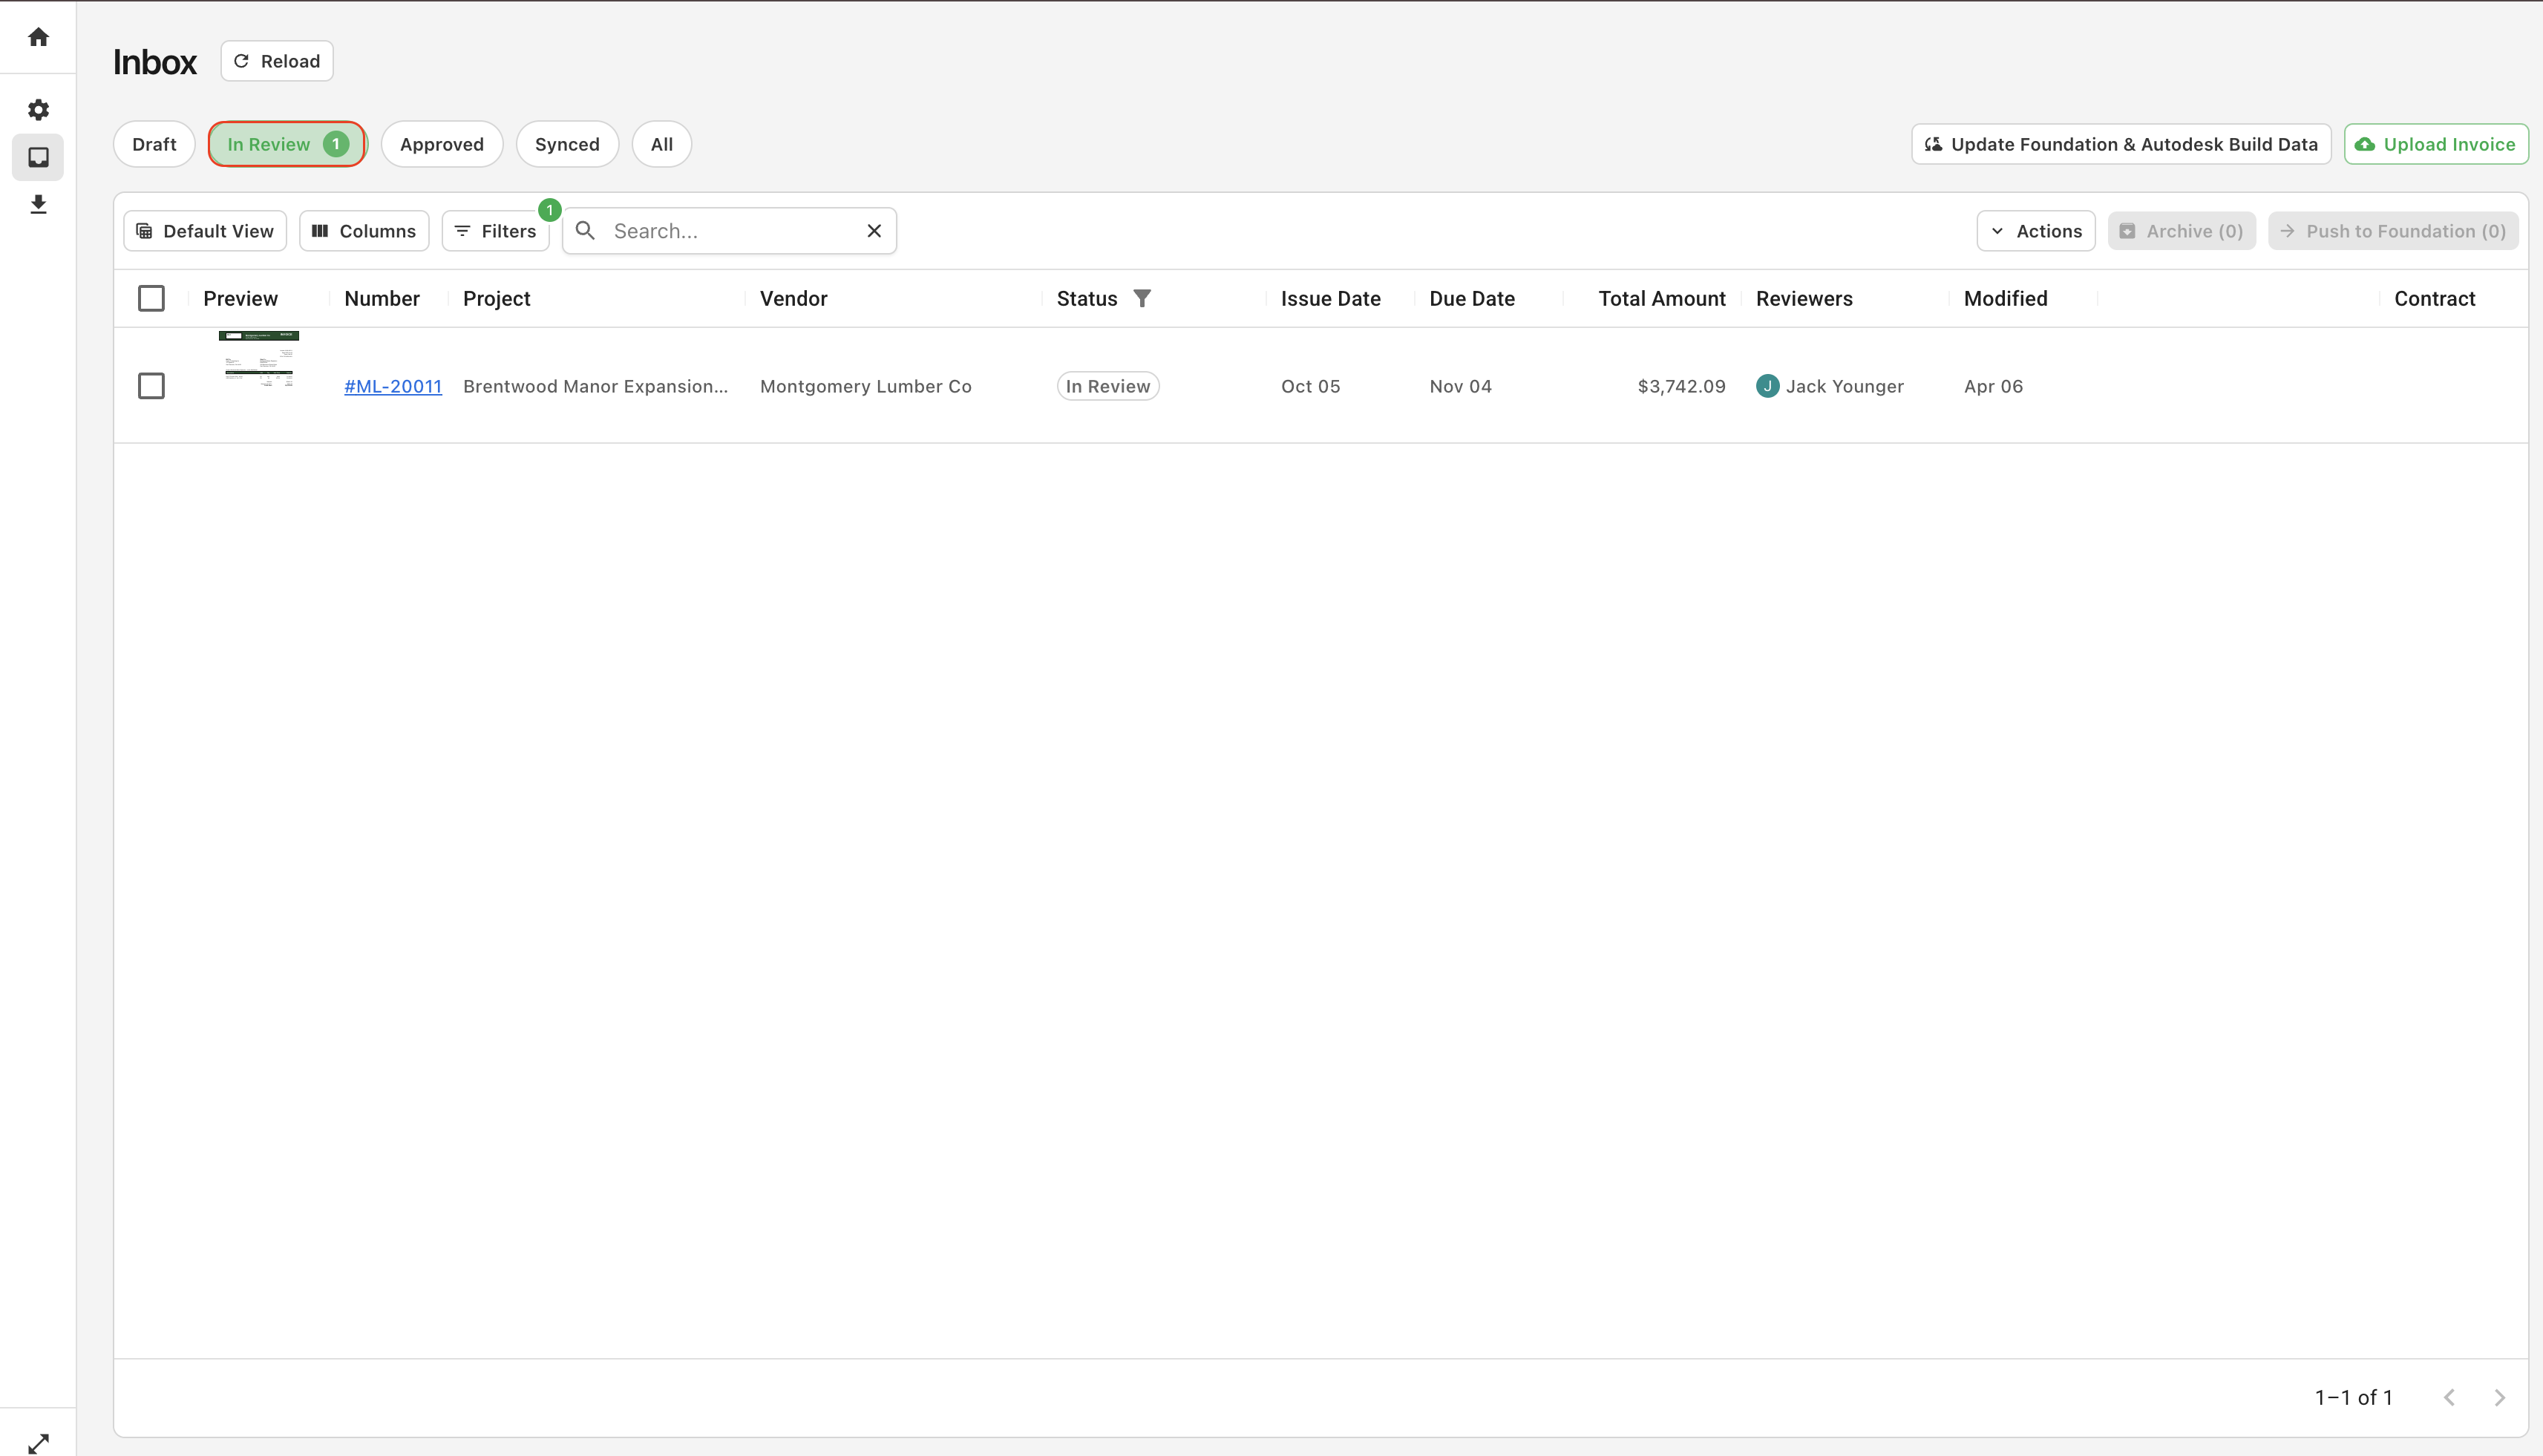
Step 2: Reviewer Approval
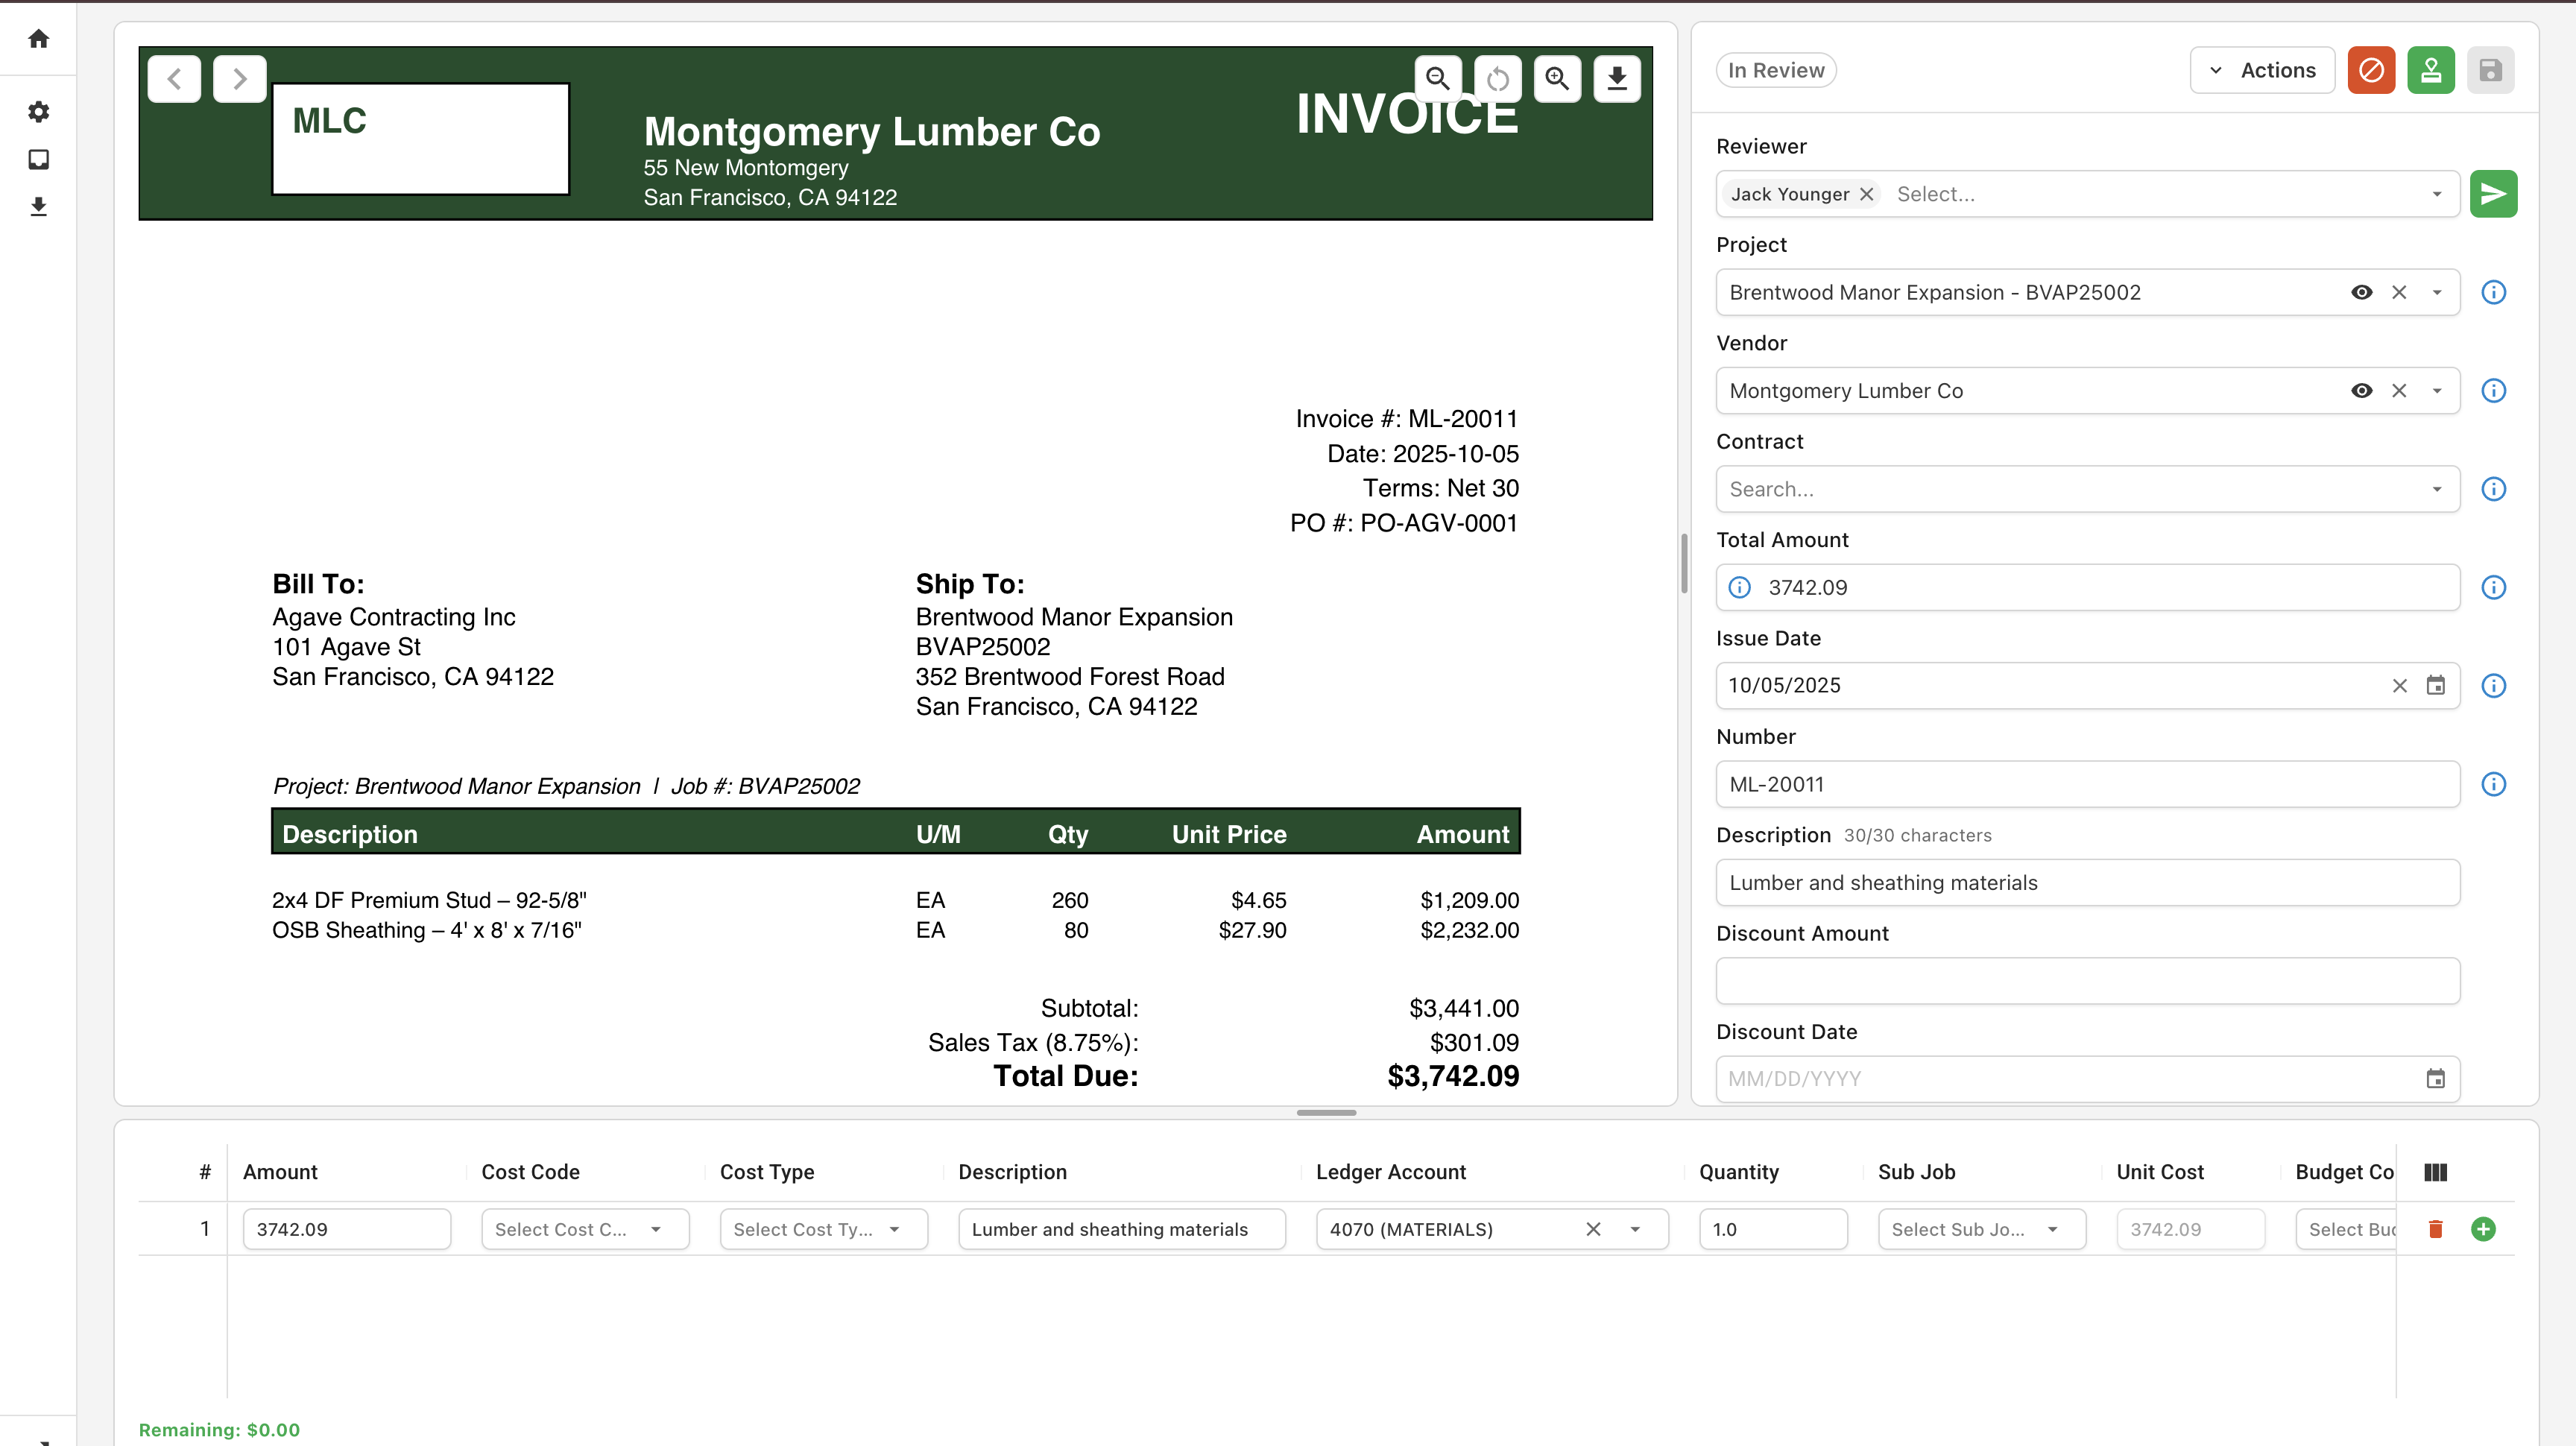
Once forwarded, the invoice is sent to the assigned Reviewer (typically the Project Manager) for their project. The reviewer can:
- Review invoice details and line items
- Code the invoice to the appropriate cost codes, cost types, or GL accounts
- Approve or Reject the invoice
If a secondary reviewer is configured, the invoice can also be reassigned at this stage.
Step 3: ERP Sync
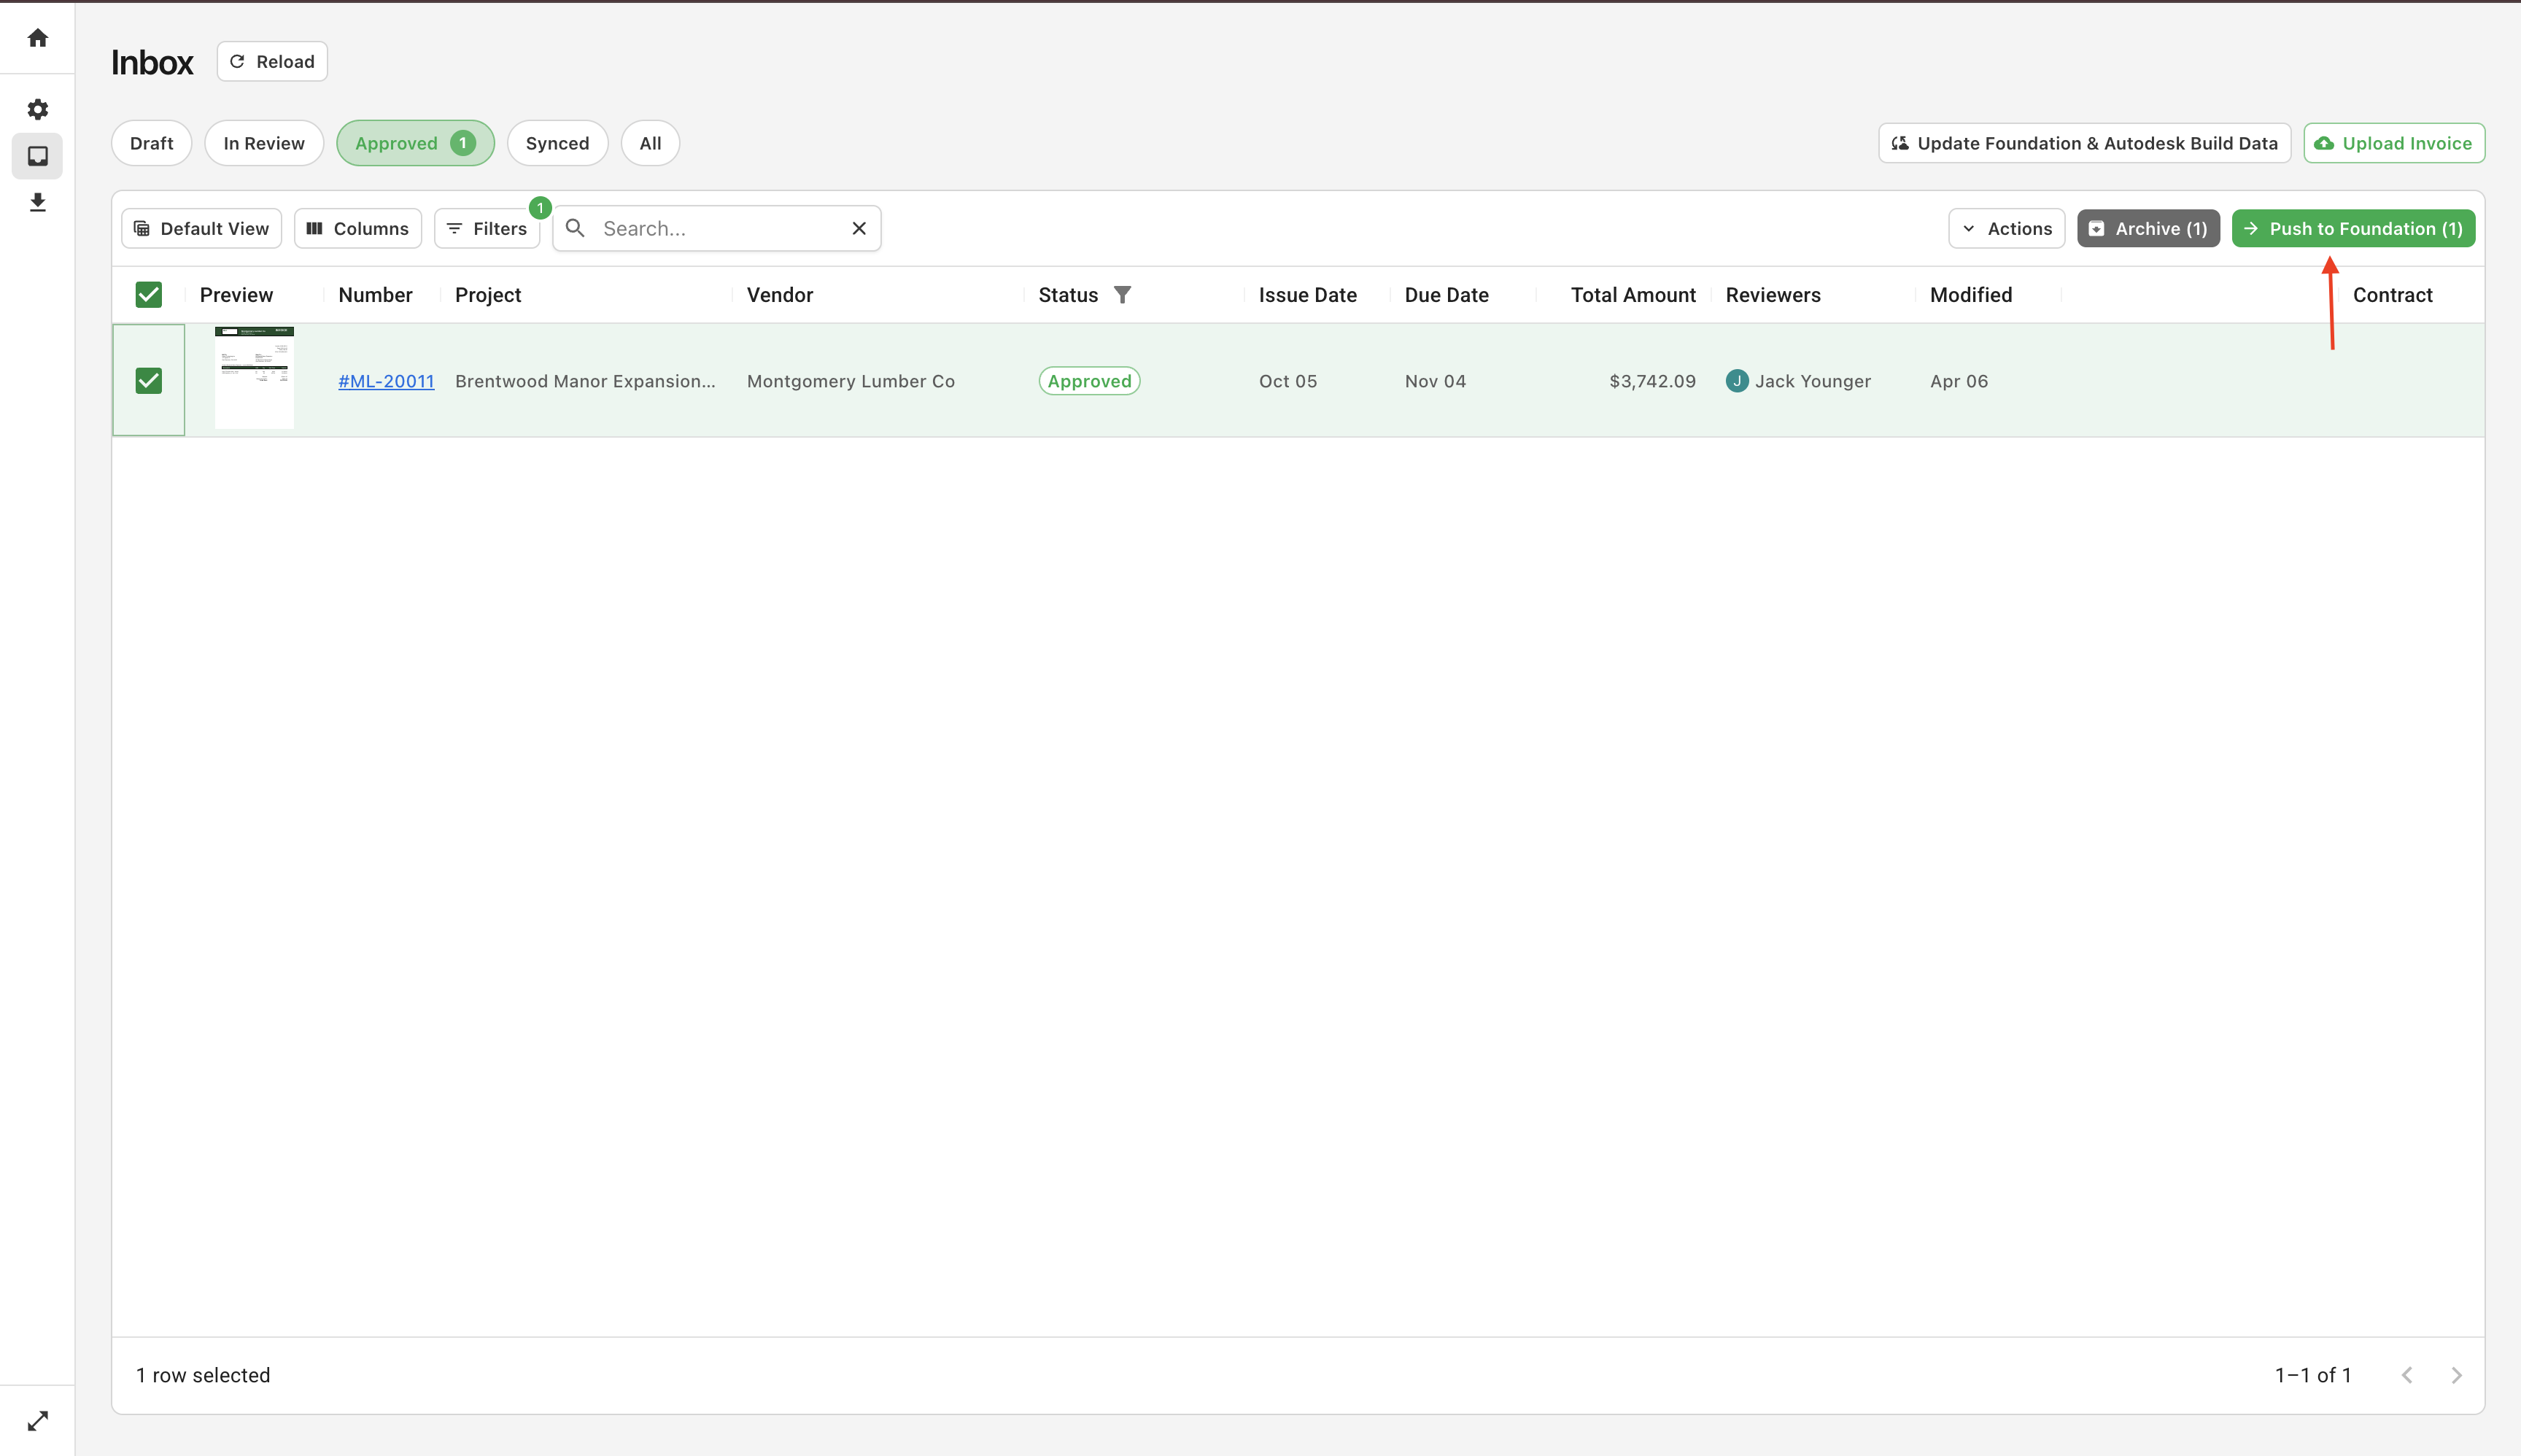
After the reviewer approves the invoice, it moves to the final stage: syncing to your ERP.
- Manual Sync — The AP Admin receives the approved invoice and initiates the sync to your ERP when ready.
- Automatic Sync — If auto-sync is enabled for your account, approved invoices are pushed to your ERP automatically without any additional action required.
To enable automatic syncing, reach out to your account manager or contact support@useagave.com.