Sage 100 Contractor Authentication
To authorize access to read and write data between Sage 100 Contractor and Agave, complete the steps below.
Before installing the Agave Connector, confirm the machine that will run it is on a supported version of Windows: Windows 10, Windows 11, Windows Server 2016, Windows Server 2019, or Windows Server 2022.
Expense Management uses the same SQL admin user, security group, and Agave Connector as AP Automation and ERP Sync. If Sage 100 Contractor is already connected to Agave for any of those, there is nothing extra to set up here.
Firewall configuration
The Agave Connector does not use fixed IP addresses. It communicates through Ably, which assigns IPs dynamically, so allowlist these domains on port 443 rather than trying to allowlist addresses:
| Domain | Purpose |
|---|---|
rest.ably.io | REST API requests |
realtime.ably.io | Realtime WebSocket connections |
a.ably-realtime.com through e.ably-realtime.com | Fallback hosts |
internet-up.ably-realtime.com | Connectivity check |
ws-up.ably-realtime.com | WebSocket connectivity check |
Ably does not publish static IP addresses. Allowlisting by domain is the only reliable approach here, and an IP-based rule will break without warning when Ably rotates addresses.
Step 1: Add a new SQL Admin User
Only SQL Admin Users can read and write data between Agave and Sage 100 Contractor. To add a SQL Admin User:
-
Open the Sage 100 Contractor Database Administration app.
-
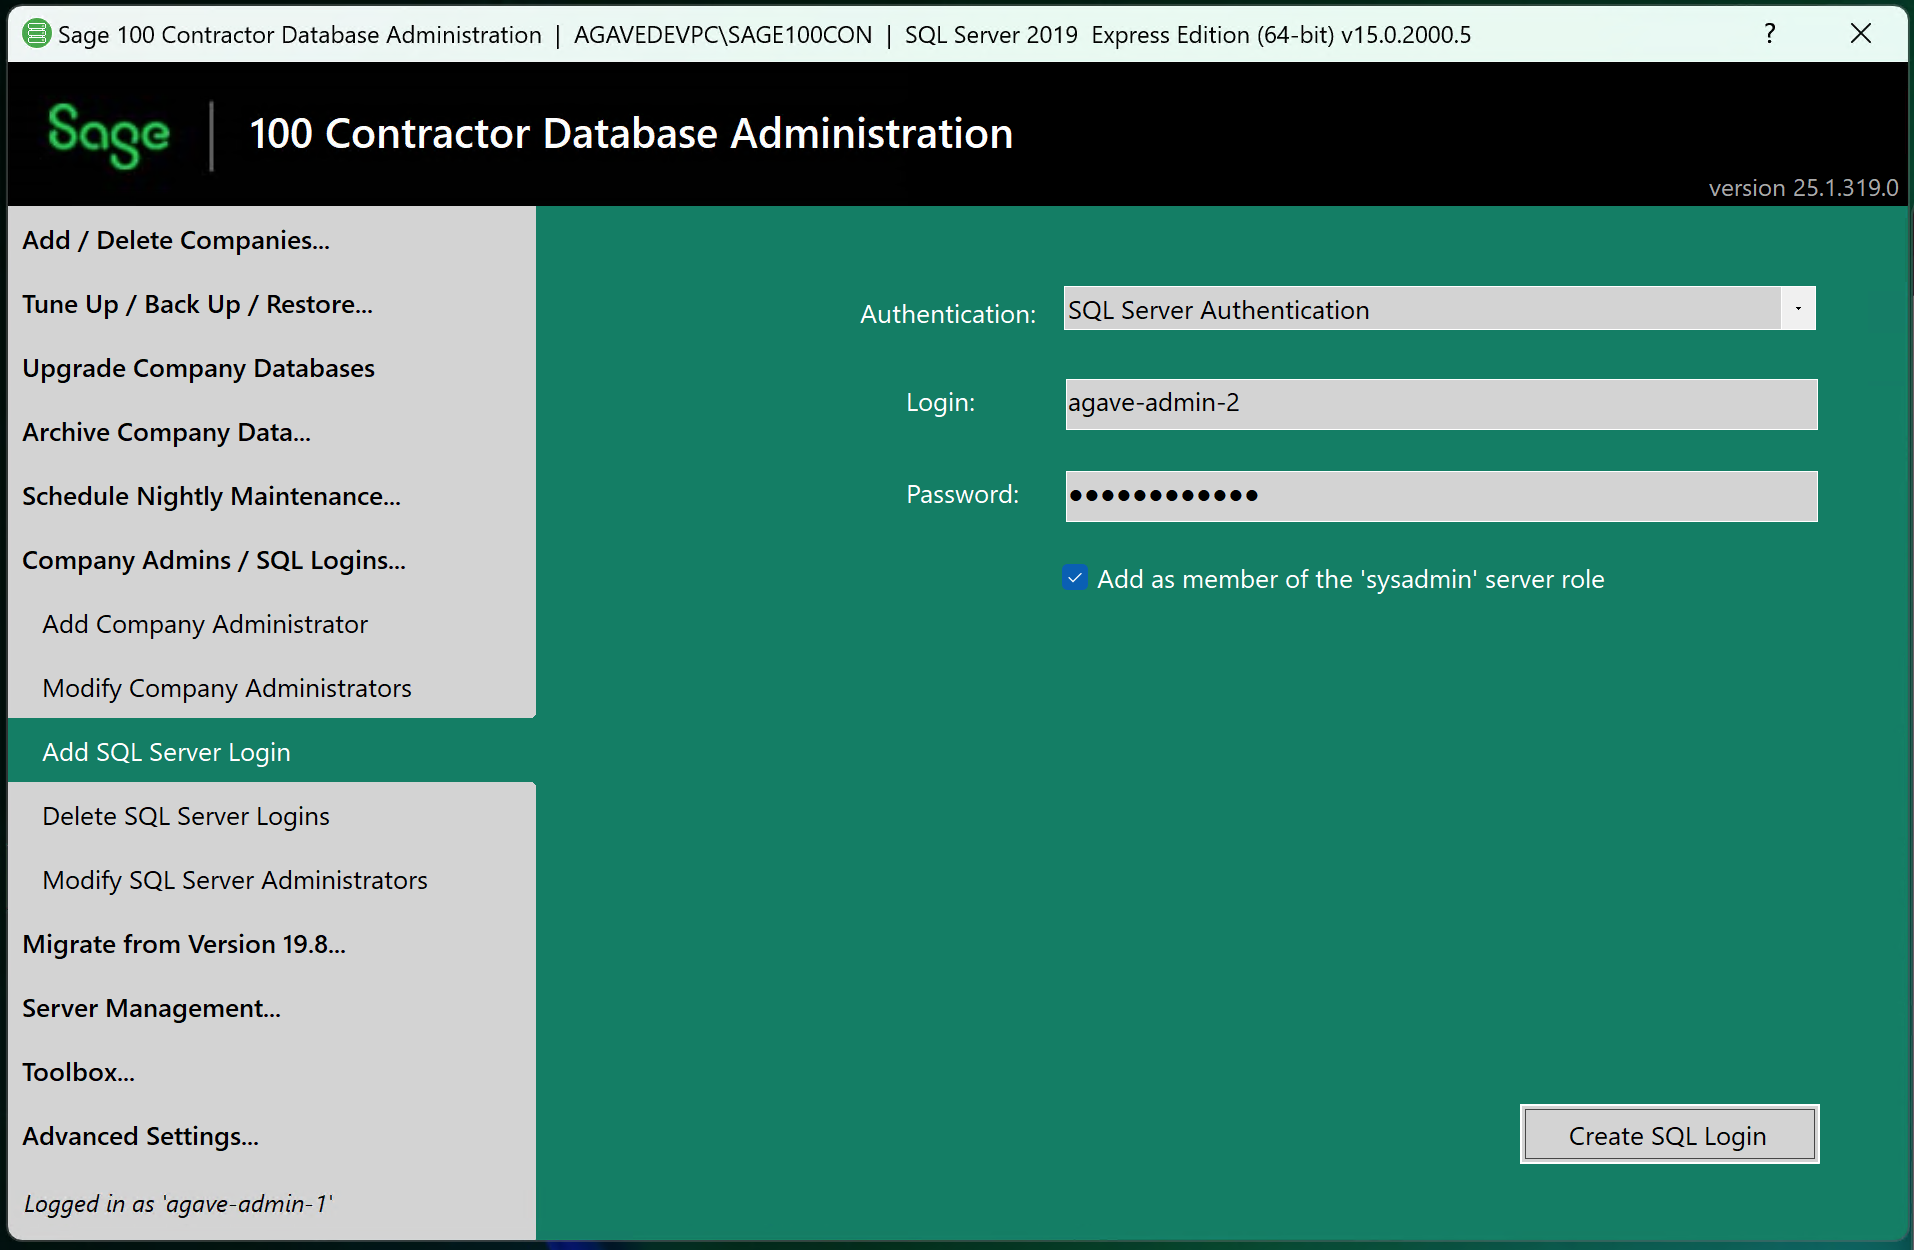
Under Company admin / SQL Logins, select "Add SQL Server Login". For Authentication, select "SQL Server Authentication" as the authentication mode, enter a strong password, and check “Add as member of the sysadmin role”.
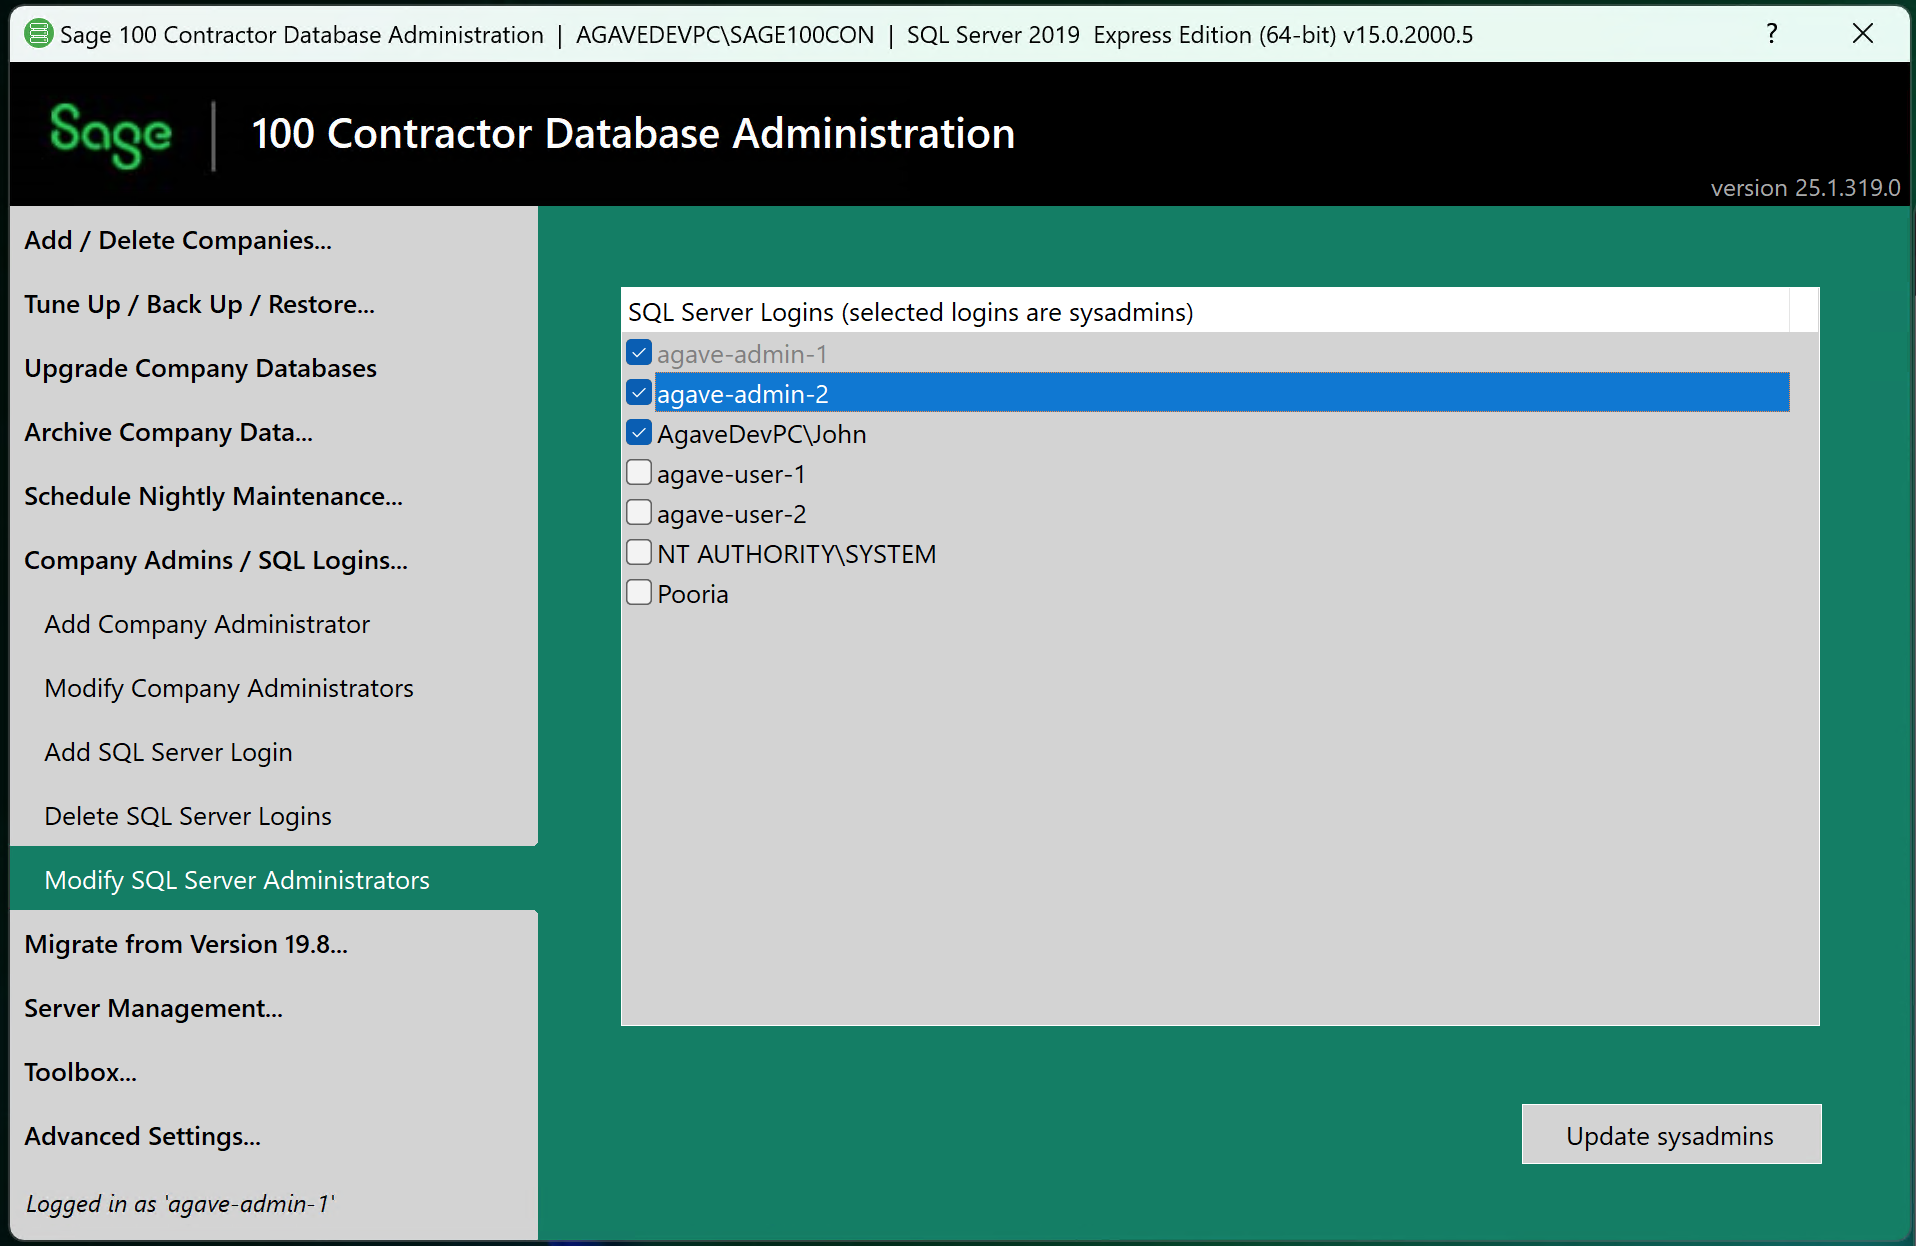
- To verify the new User has the correct permissions, go to "Modify SQL Server Administration" on the left-hand nav, select the login, and press "Update sysadmins".
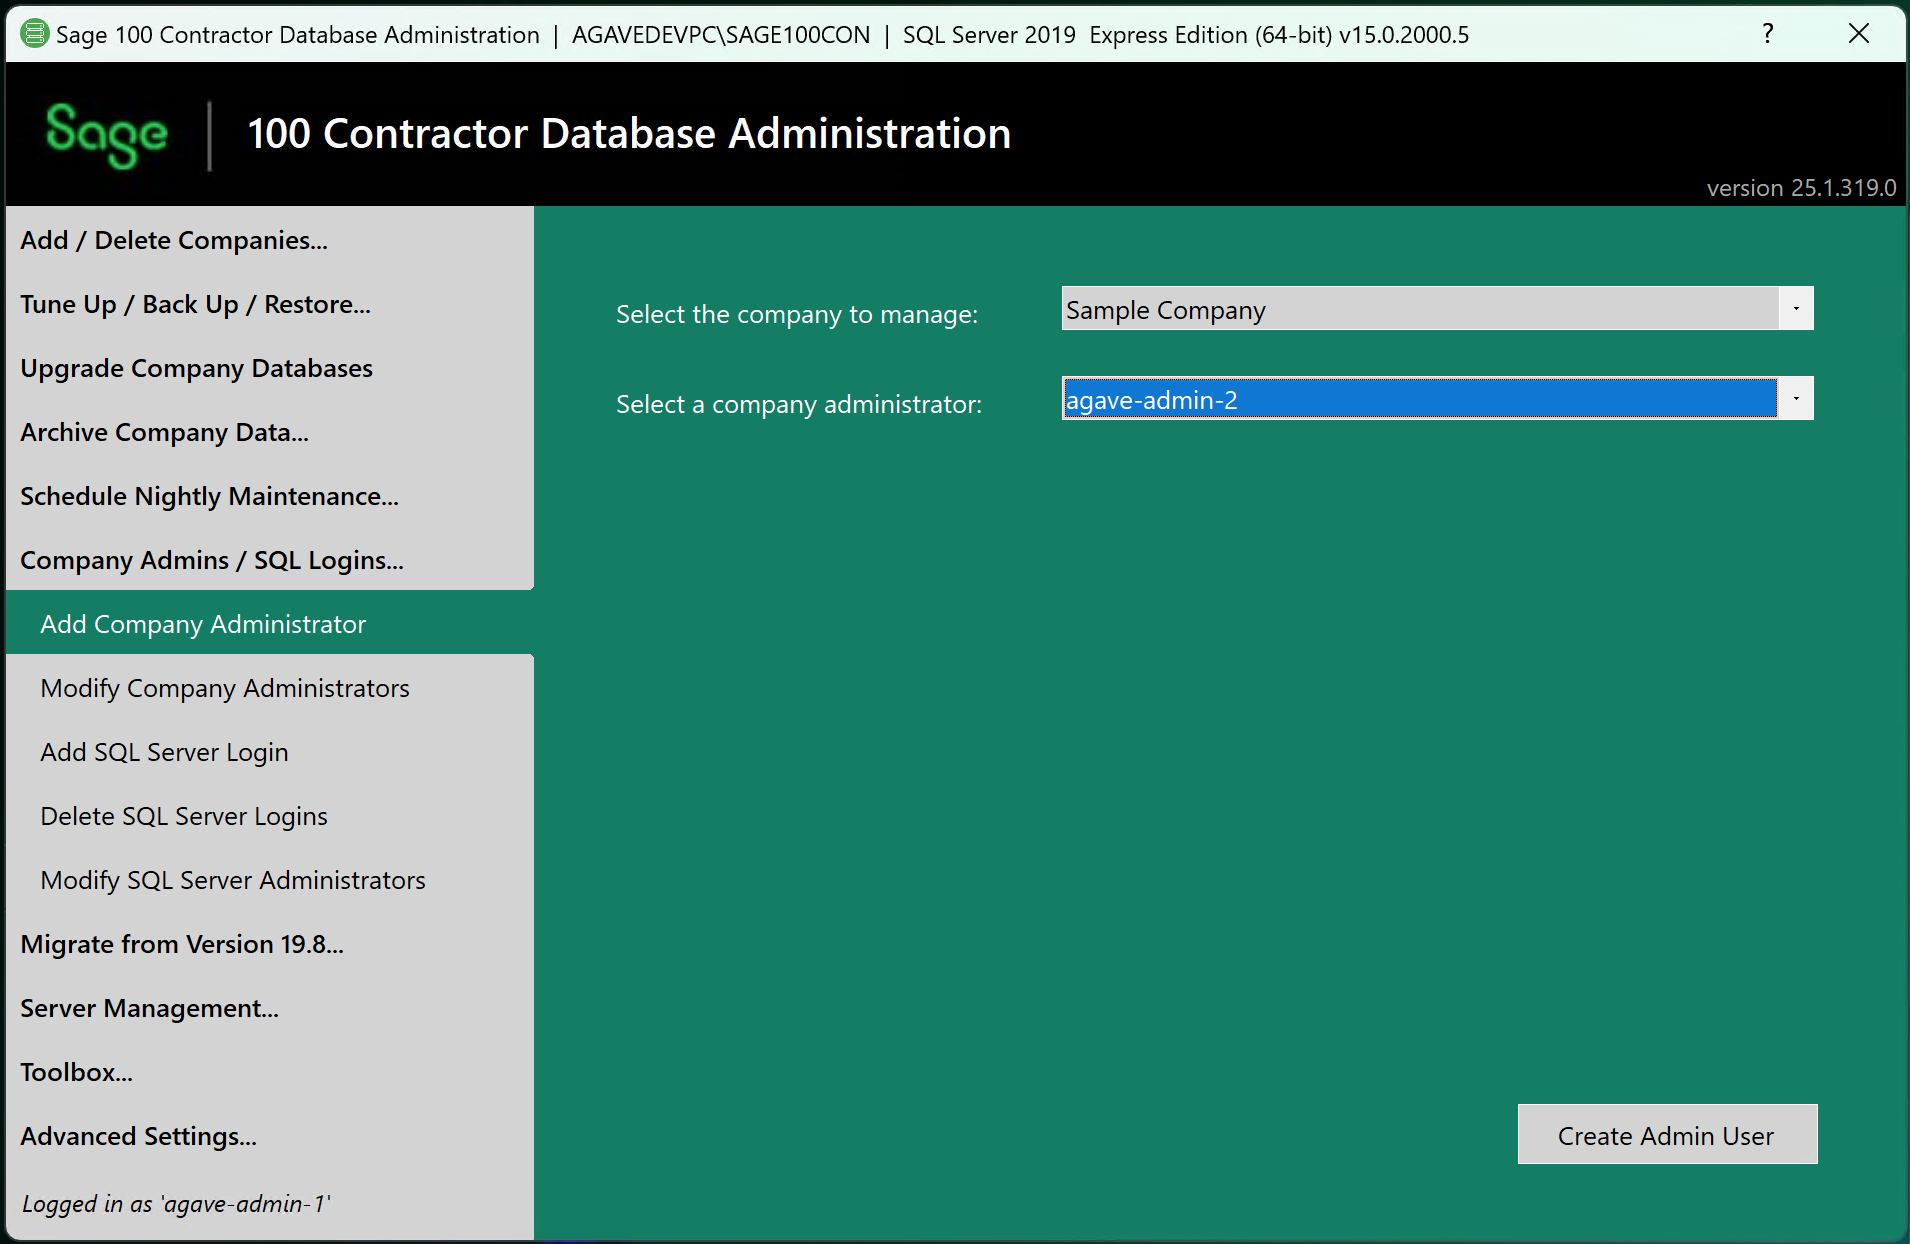
- Go to "Add Company Administrator" on the left-hand nav, and add the new user to your Company:
Step 2: Create Security Group
Make sure to complete the following steps in the Sage 100 Contractor company you plan to link to.
You will need to create a Security Group and add the SQL Admin User to it.
To create a Security Group:
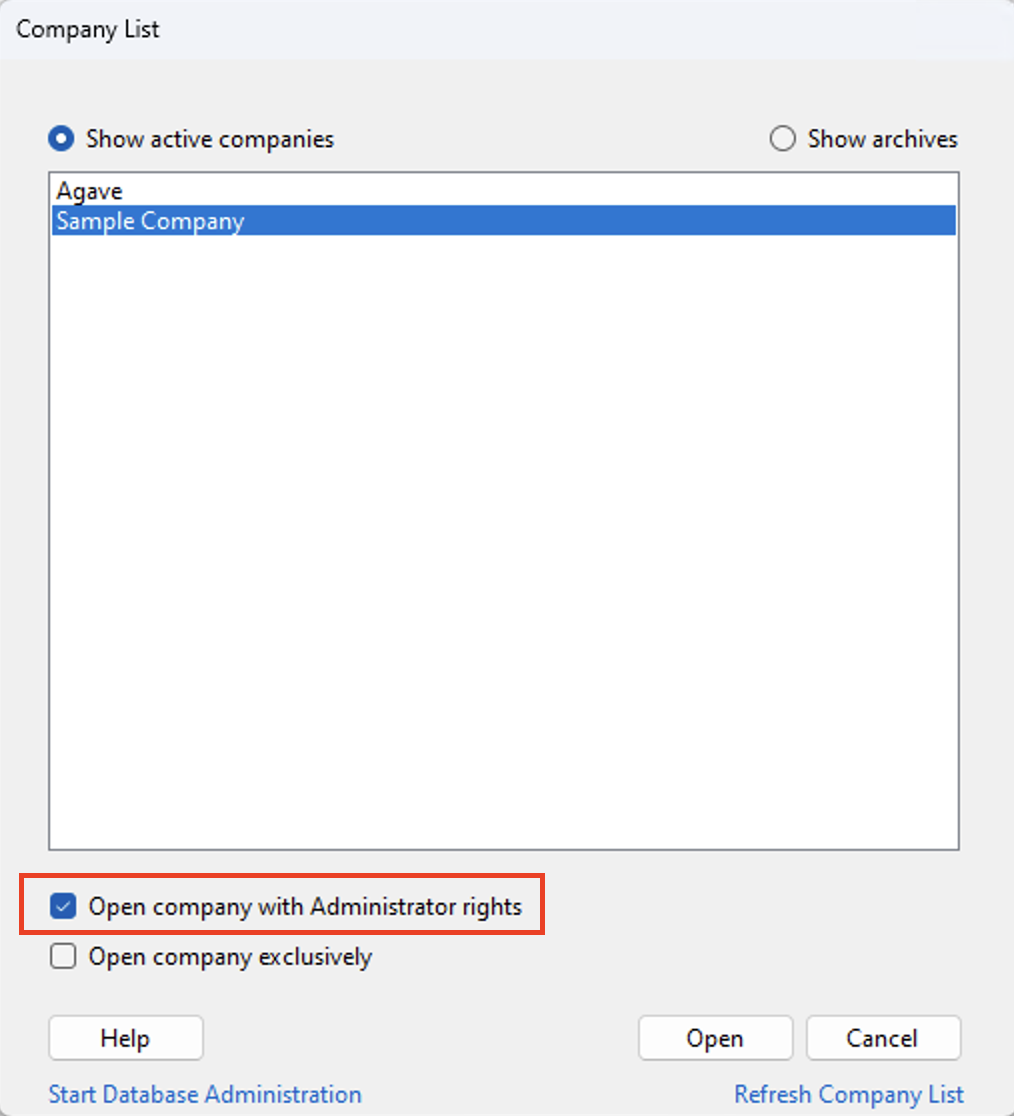
- When logging into Sage 100 Contractor, open the company with Administrator rights:
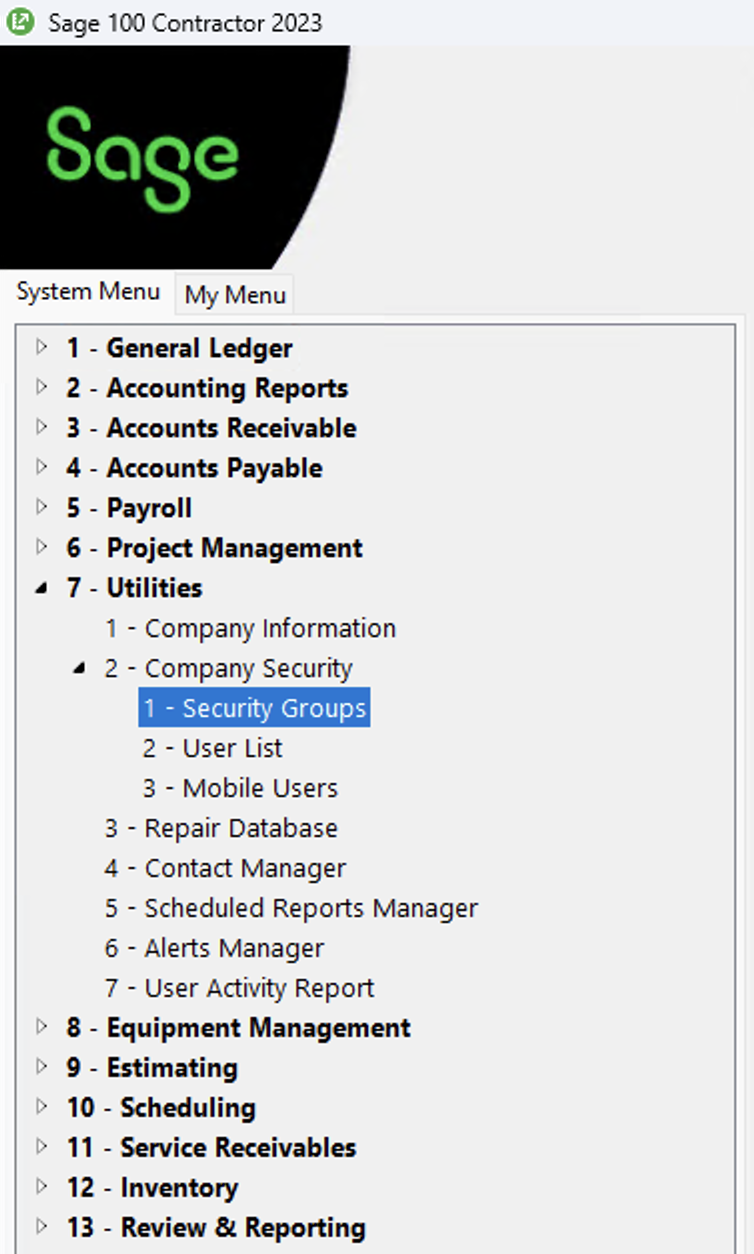
- In the left hand rail, select 7 - Utilities --> 2 - Company Security --> 1 - Security Groups:
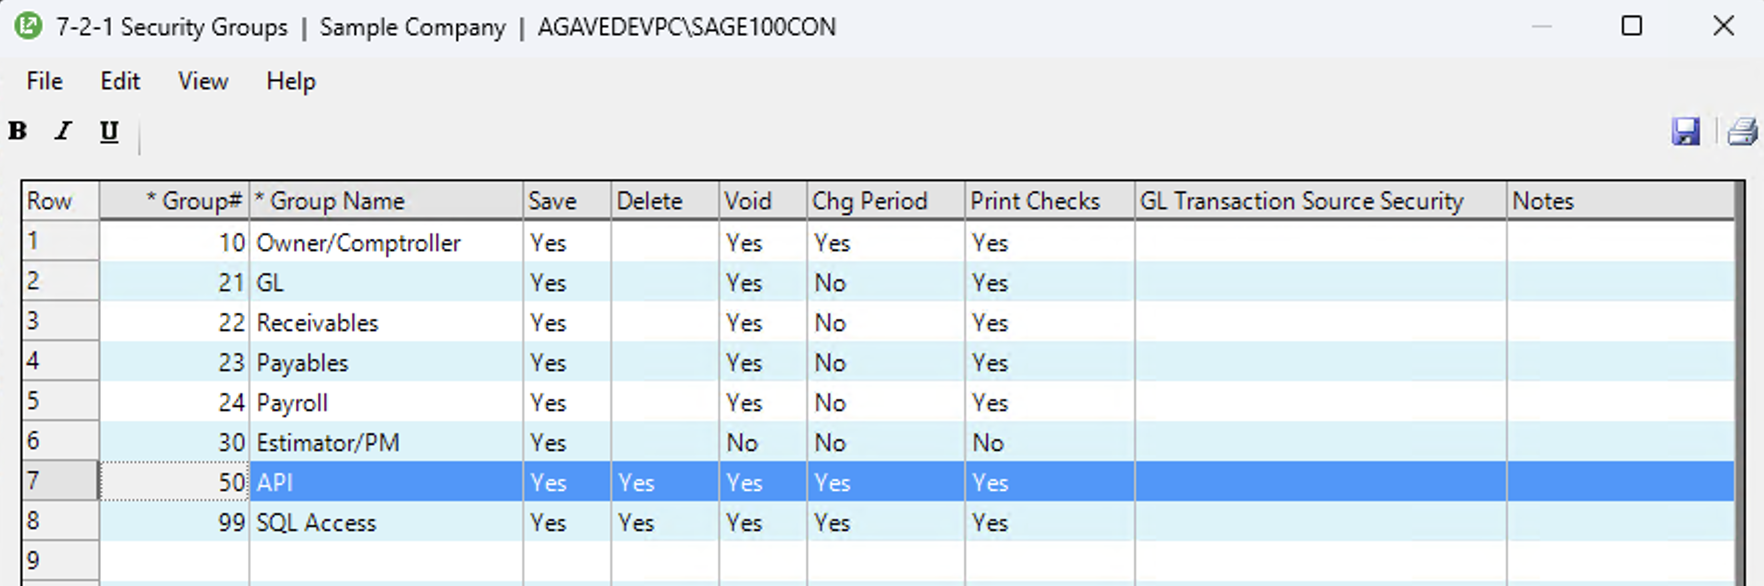
- Insert a row to the Security Groups table (e.g. see the row for "API" below) and press the Save icon at the top right. Make sure to set the Save and Delete privileges to "Yes".
- In the left hand rail again, select 7 - Utilities --> 2 - Company Security --> 2 - User List:
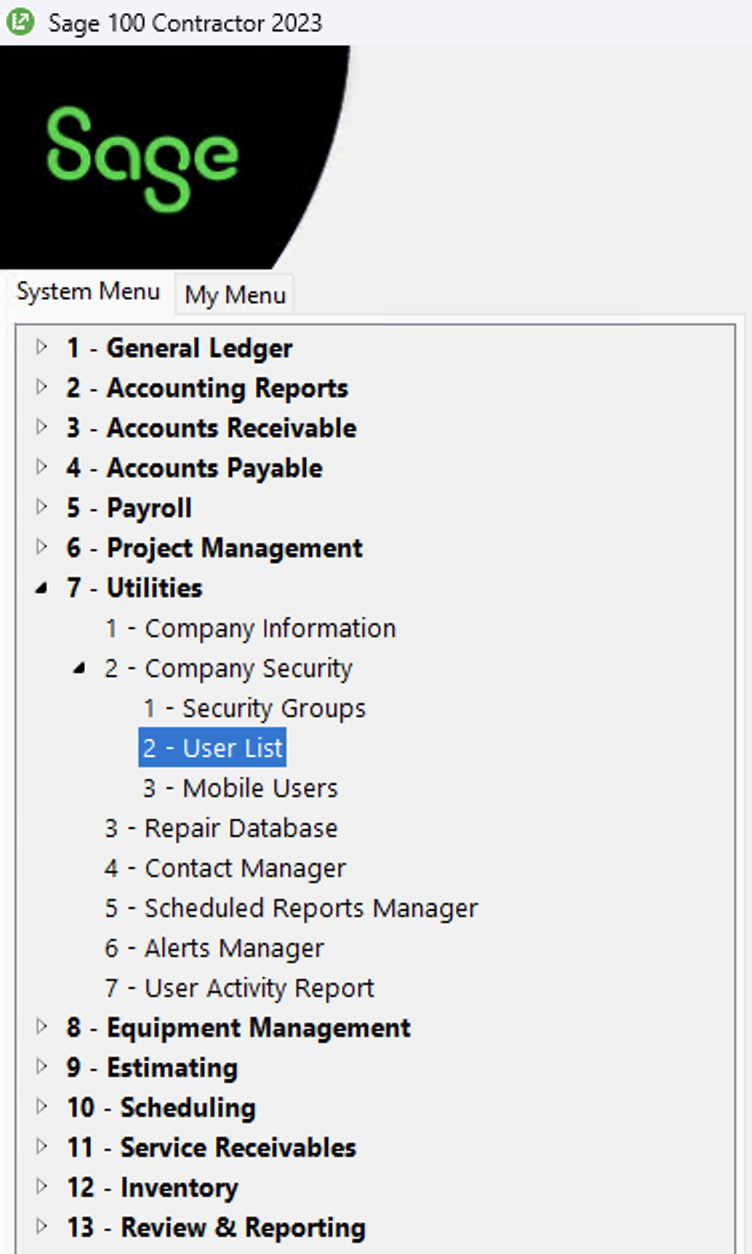
- Assign the User created in Step 1 above to the Security Group you created and press the Save icon at the top right.
Step 3: Install Agave connector
We recommend installing the Agave Connector on the server used to host Sage 100 Contractor instead of a user's workstation.
Some customers also choose to run the Agave Connector on a separate account (rather than admin) on the host machine. Ensure you install the Agave Connector while signed in with the account that will run it.
The Agave Connector app is a standalone application that you can install in a Windows environment and can be used to connect to on-premise applications like Sage 100 Contractor.
To install and run the Agave Connector app:
-
Contact the Agave team at support@useagave.com for a link to download the .exe file.
-
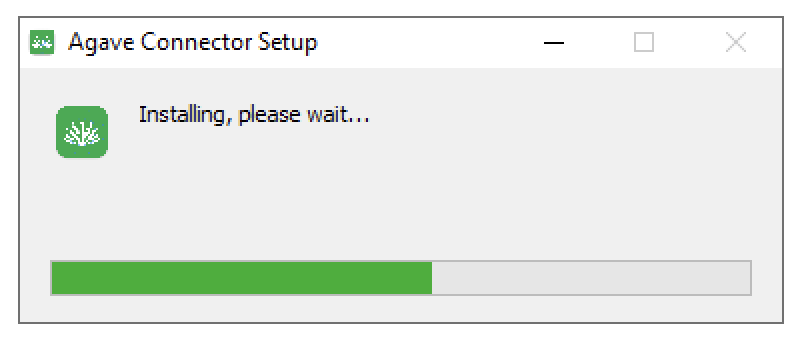
Download the .exe file and open it. You will see the following install screen appear:
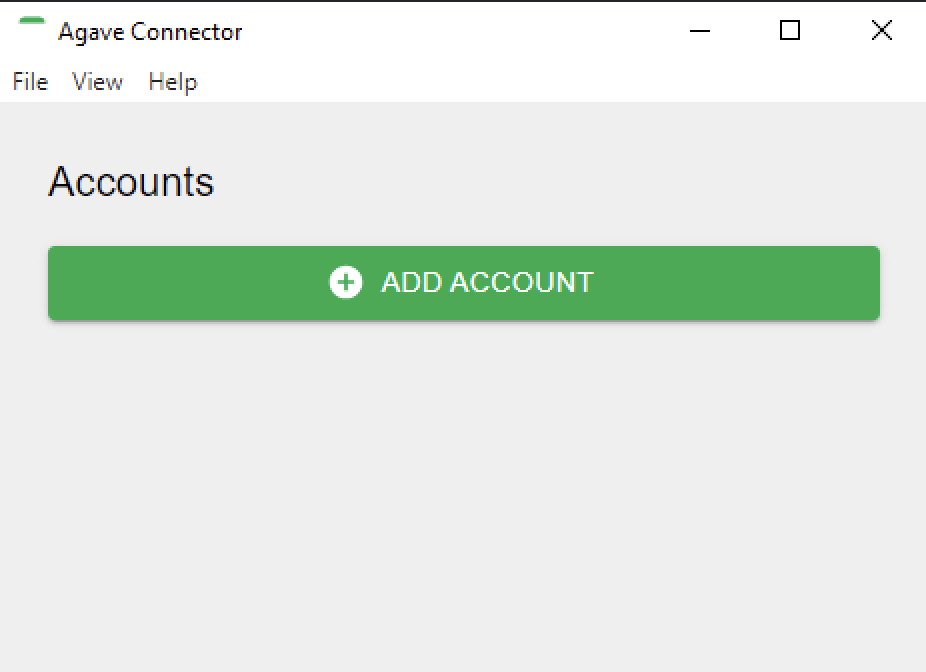
- After installation, the Agave Connector app will open and appear in your Desktop folder:
Step 4: Authenticate with Sage 100 Contractor
To authenticate your Sage 100 Contractor instance with Agave, complete the following steps:
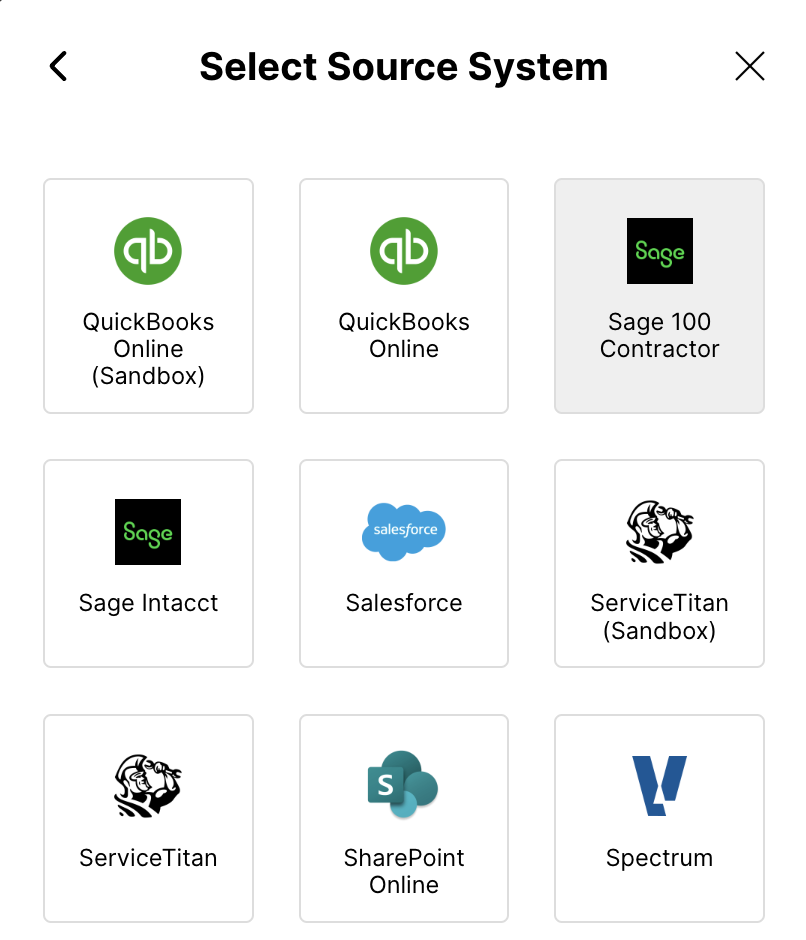
- In Agave, open the connection screen and press “Sage 100 Contractor”:
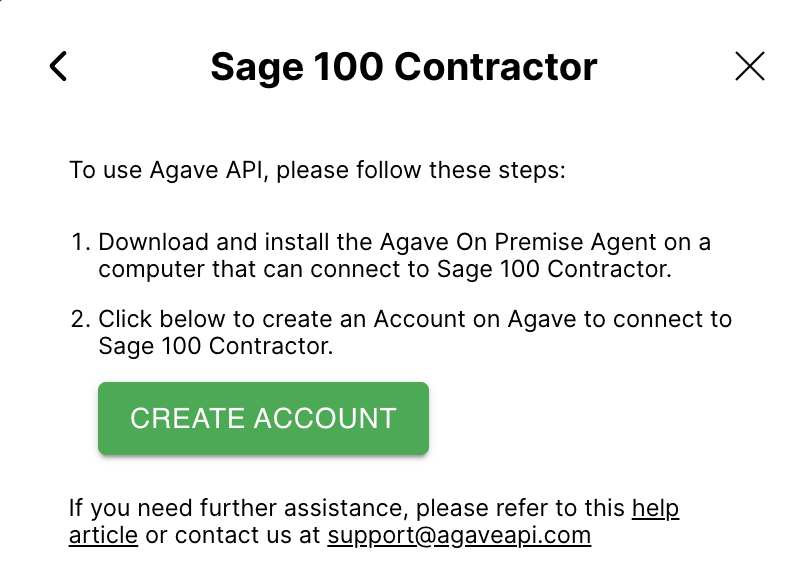
- Select "Create Account":
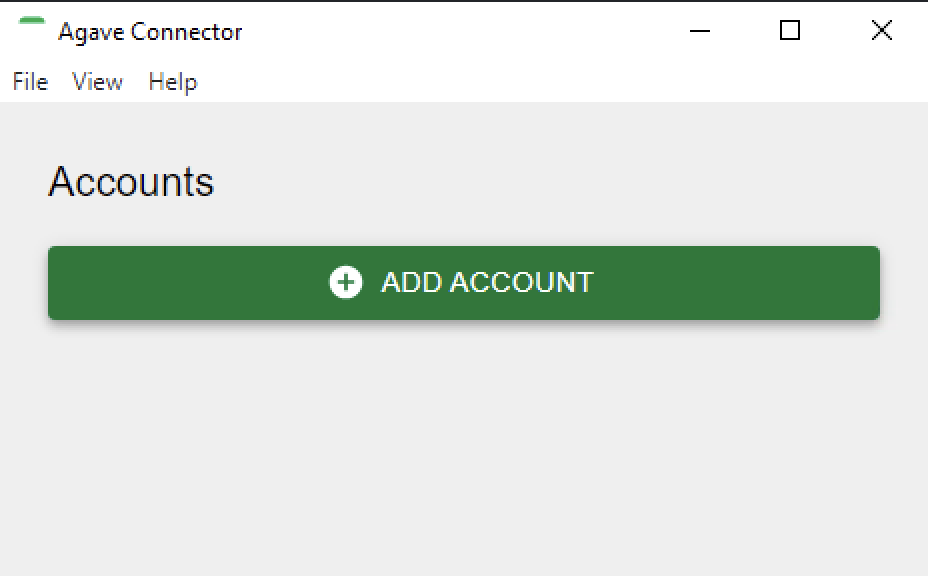
- In parallel, open the Agave Connector app and select “Add Account”:
- Input details for connecting to your Sage 100 Contractor SQL database:
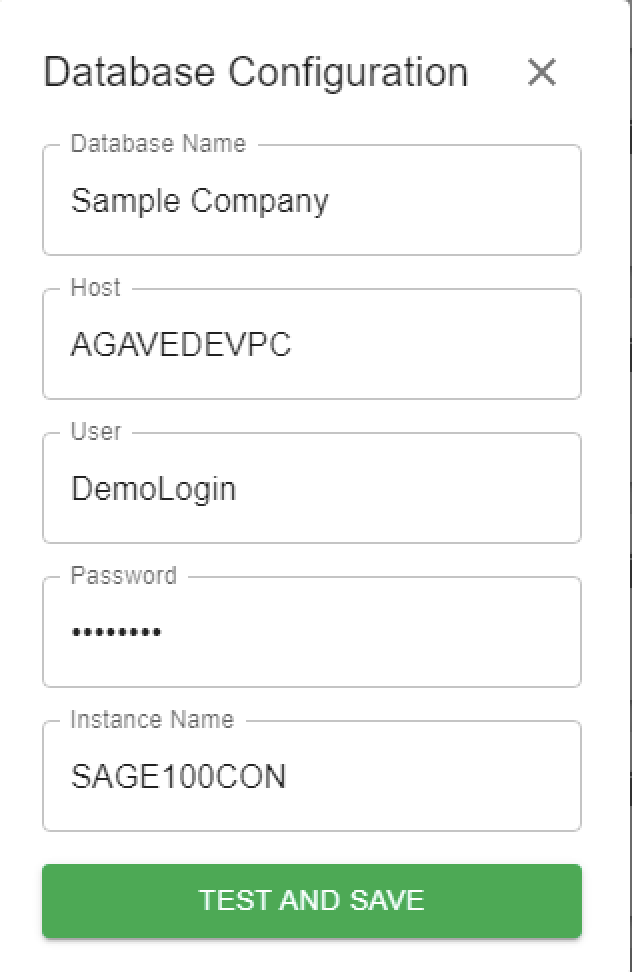
- Database Name: this is the database for the Sage 100 Contractor company you are connecting.
- Host: this is the host for accessing the Sage 100 Contractor instance.
- User: this is a User that has been added by a Sage 100 Contractor Administrator. Note, the User must be a SQL Administrator for the Sage 100 Contractor database.
- Password: this is the password for the Sage 100 Contractor User.
- Instance Name: this is the SQL Server instance used by Sage 100 Contractor. If it is running on the default SQL Server instance, this may be blank.
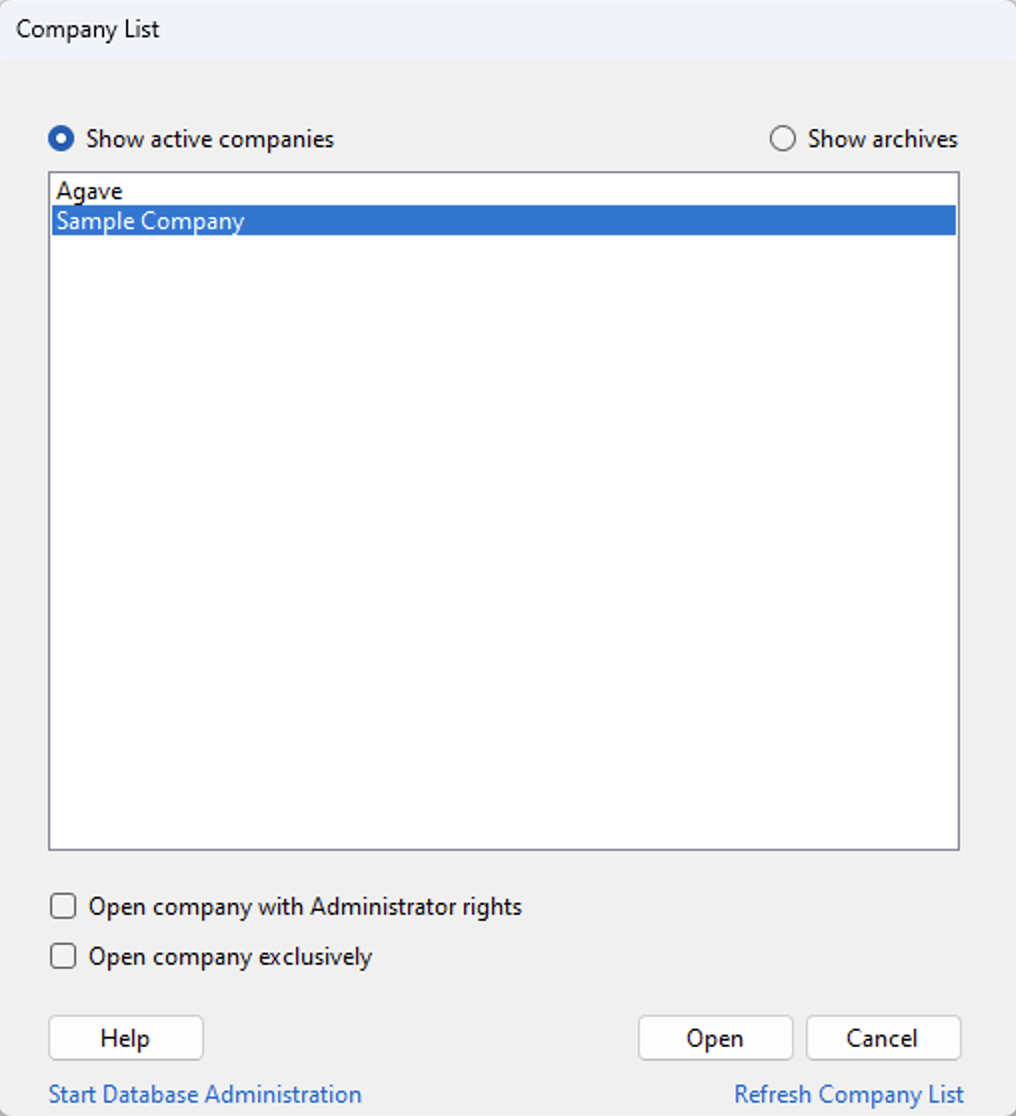
The Database Name is found in the Company List when opening Sage 100 Contractor:
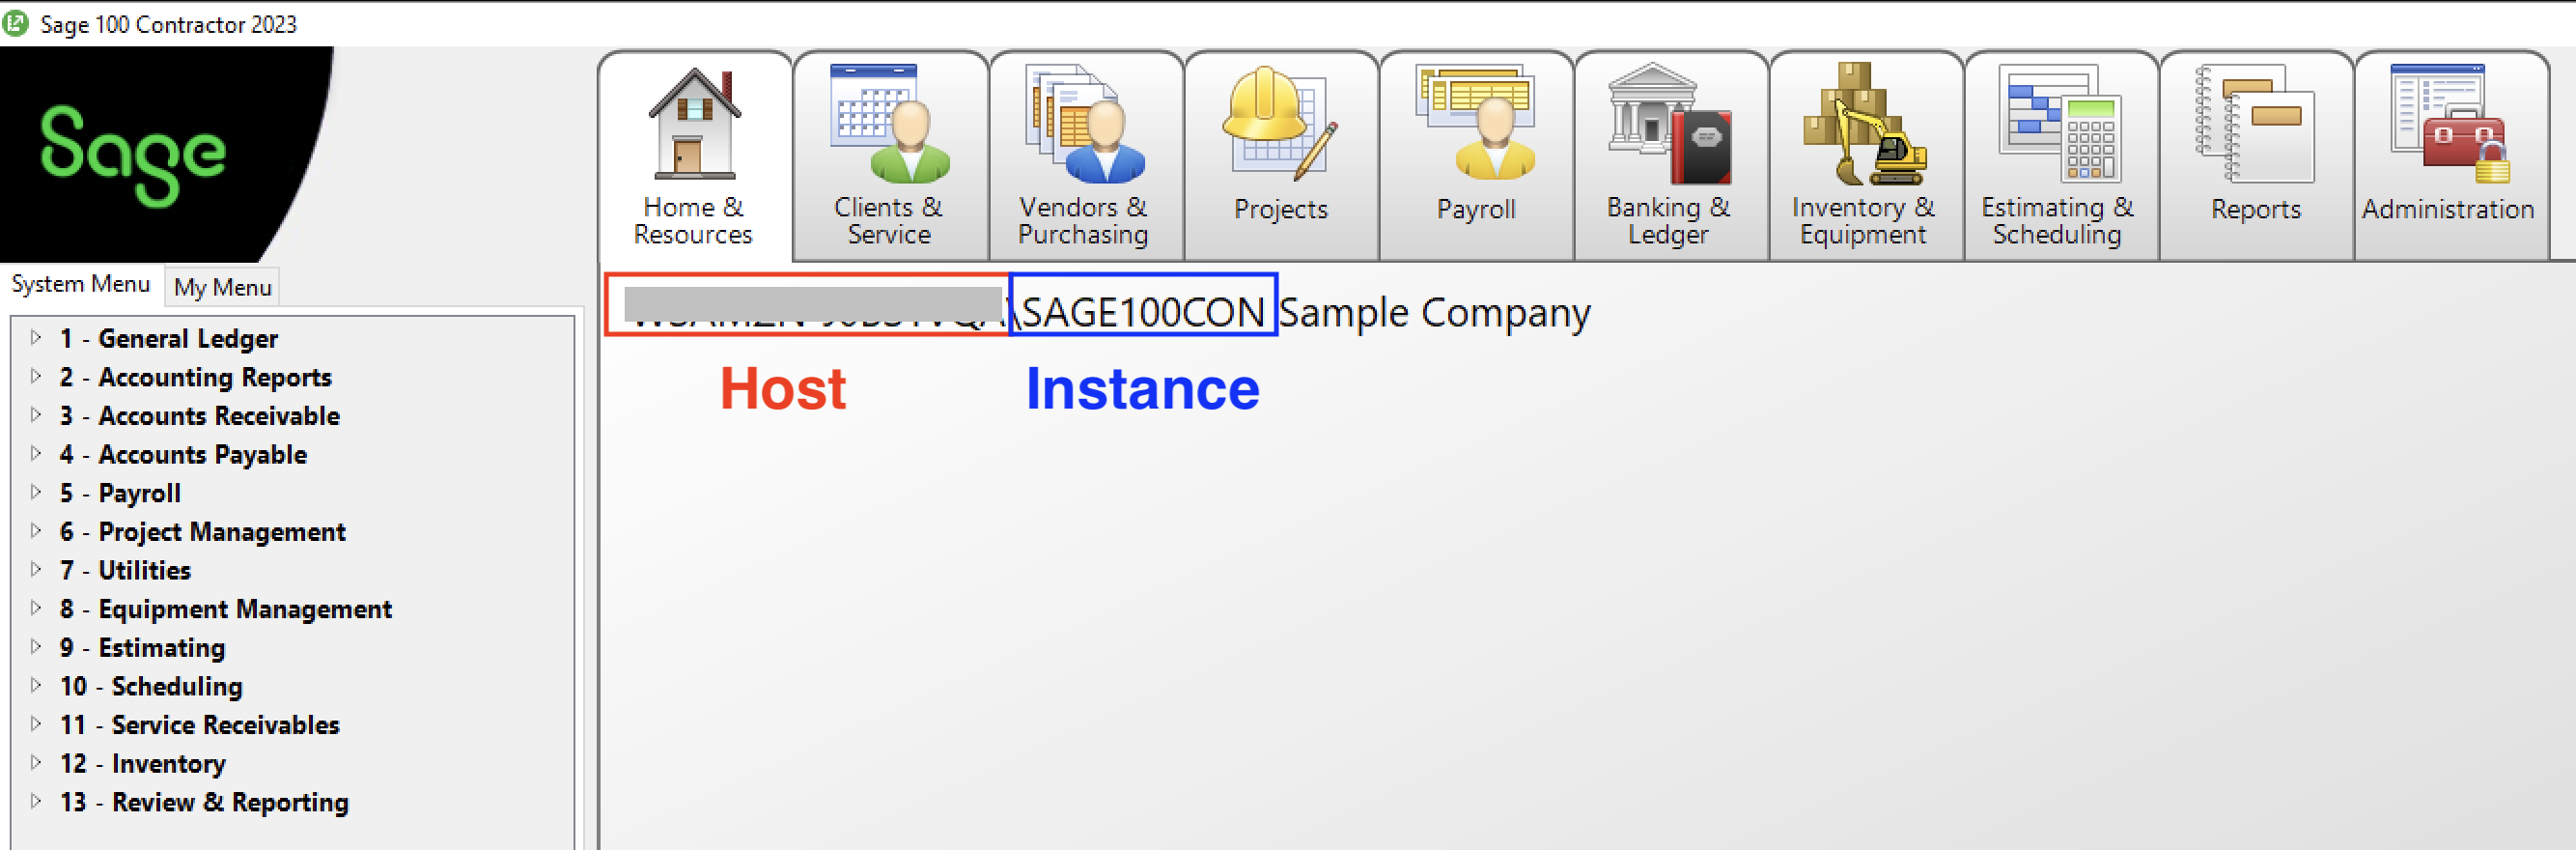
The Host and Instance Name are often found under the Home & Resources tab in Sage 100 Contractor:
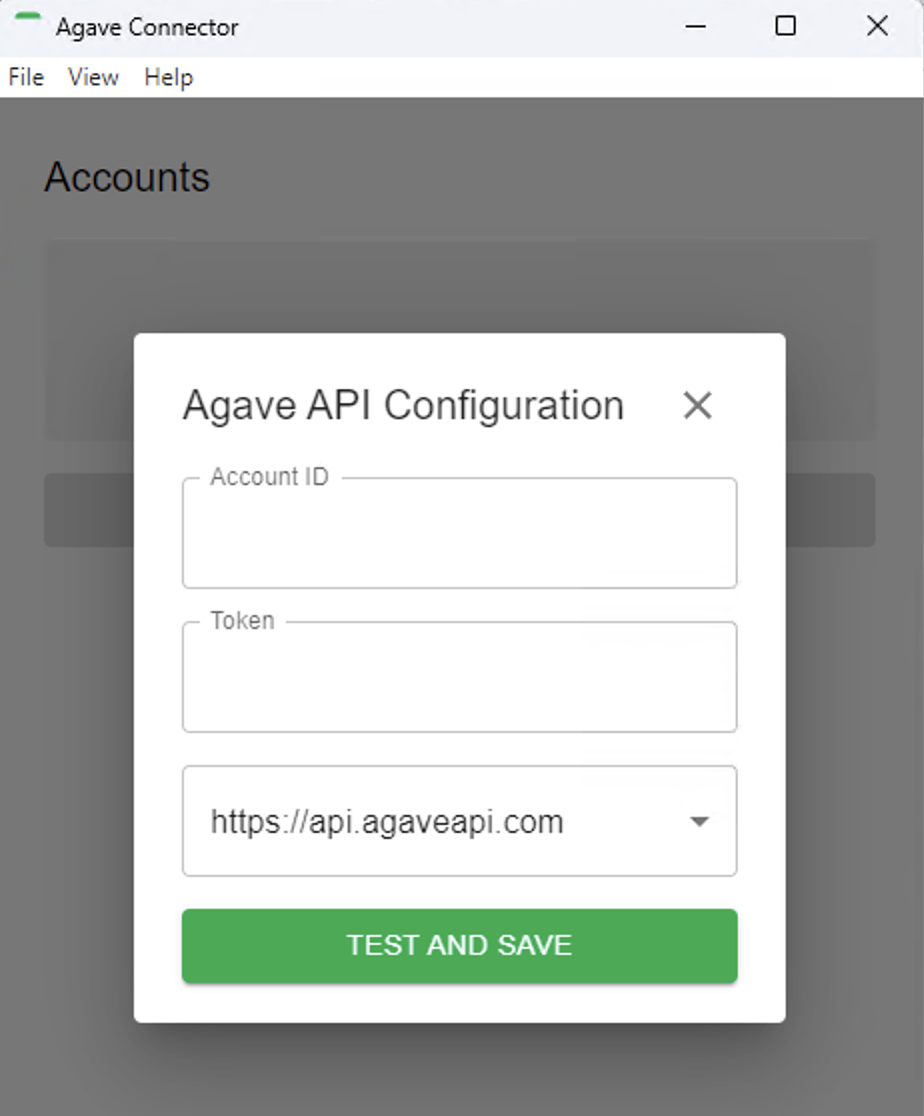
- Pressing “Test and Save” will open a page for "Agave API Configuration". Return to Agave, copy the Account ID and Token, paste them in, then press "Test and Save":
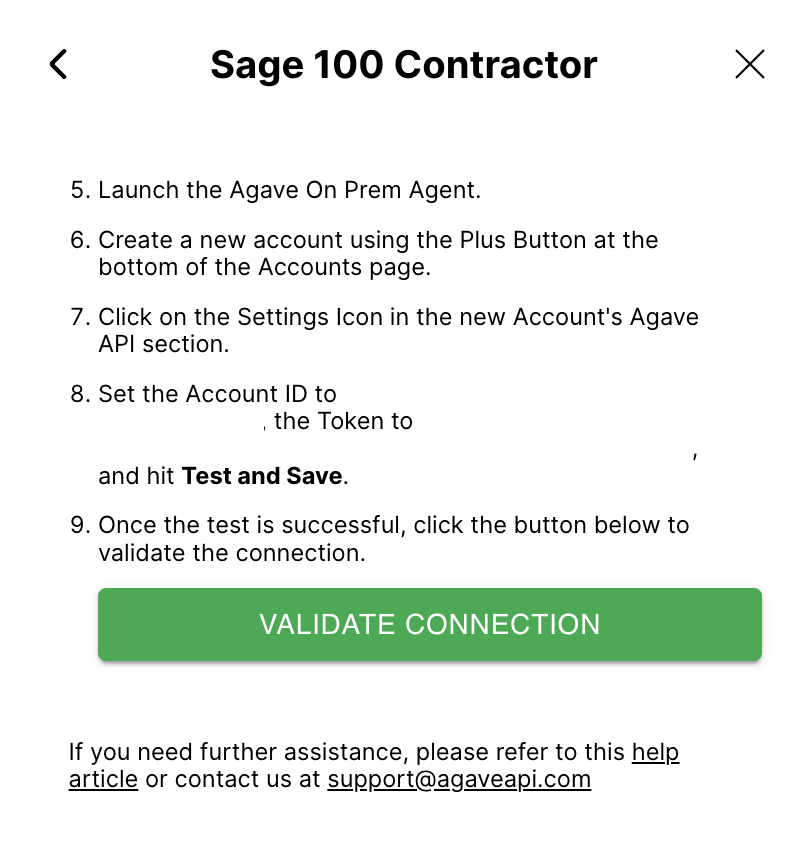
- Press “Validate Connection” in Agave Link. If the connection succeeded, Agave Link will close and you will be supplied with a Public Token to exchange for a permanent Account Token.
You will need to keep the Agave Connector open to be able to continue to make API requests to Sage 100 Contractor.
Step 5: Set Agave Connector to Always-On with Windows Task Scheduler
If you plan to have Sage 100 Contractor run after a user logs out of the server, set the Agave Connector to run as an always-on task in Windows Task Scheduler. Your Agave Account Manager can walk your IT team through this.
Related guides
- Credit Card Expenses as Journal Transactions: how Expense Management posts an approved expense to Sage 100 Contractor once the connection is live