Foundation Connection Setup Guide
Complete the below modules to connect your Foundation account with Agave's AP Automation tool:
Creating this connection will not automatically send any data into Foundation.
Module 1: Foundation Database Connection
Connecting to Cloud Versions of Foundation
The below provides an overview of how to connect to cloud or hosted versions of Foundation. It takes about 15-30 minutes to complete.
Step 1: Create Agave User in Foundation
The first step is to create a dedicated User to connect to Agave. We recommend using a dedicated User for the integration, so you can track activity from your integration with your PM system.
To create a dedicated User:
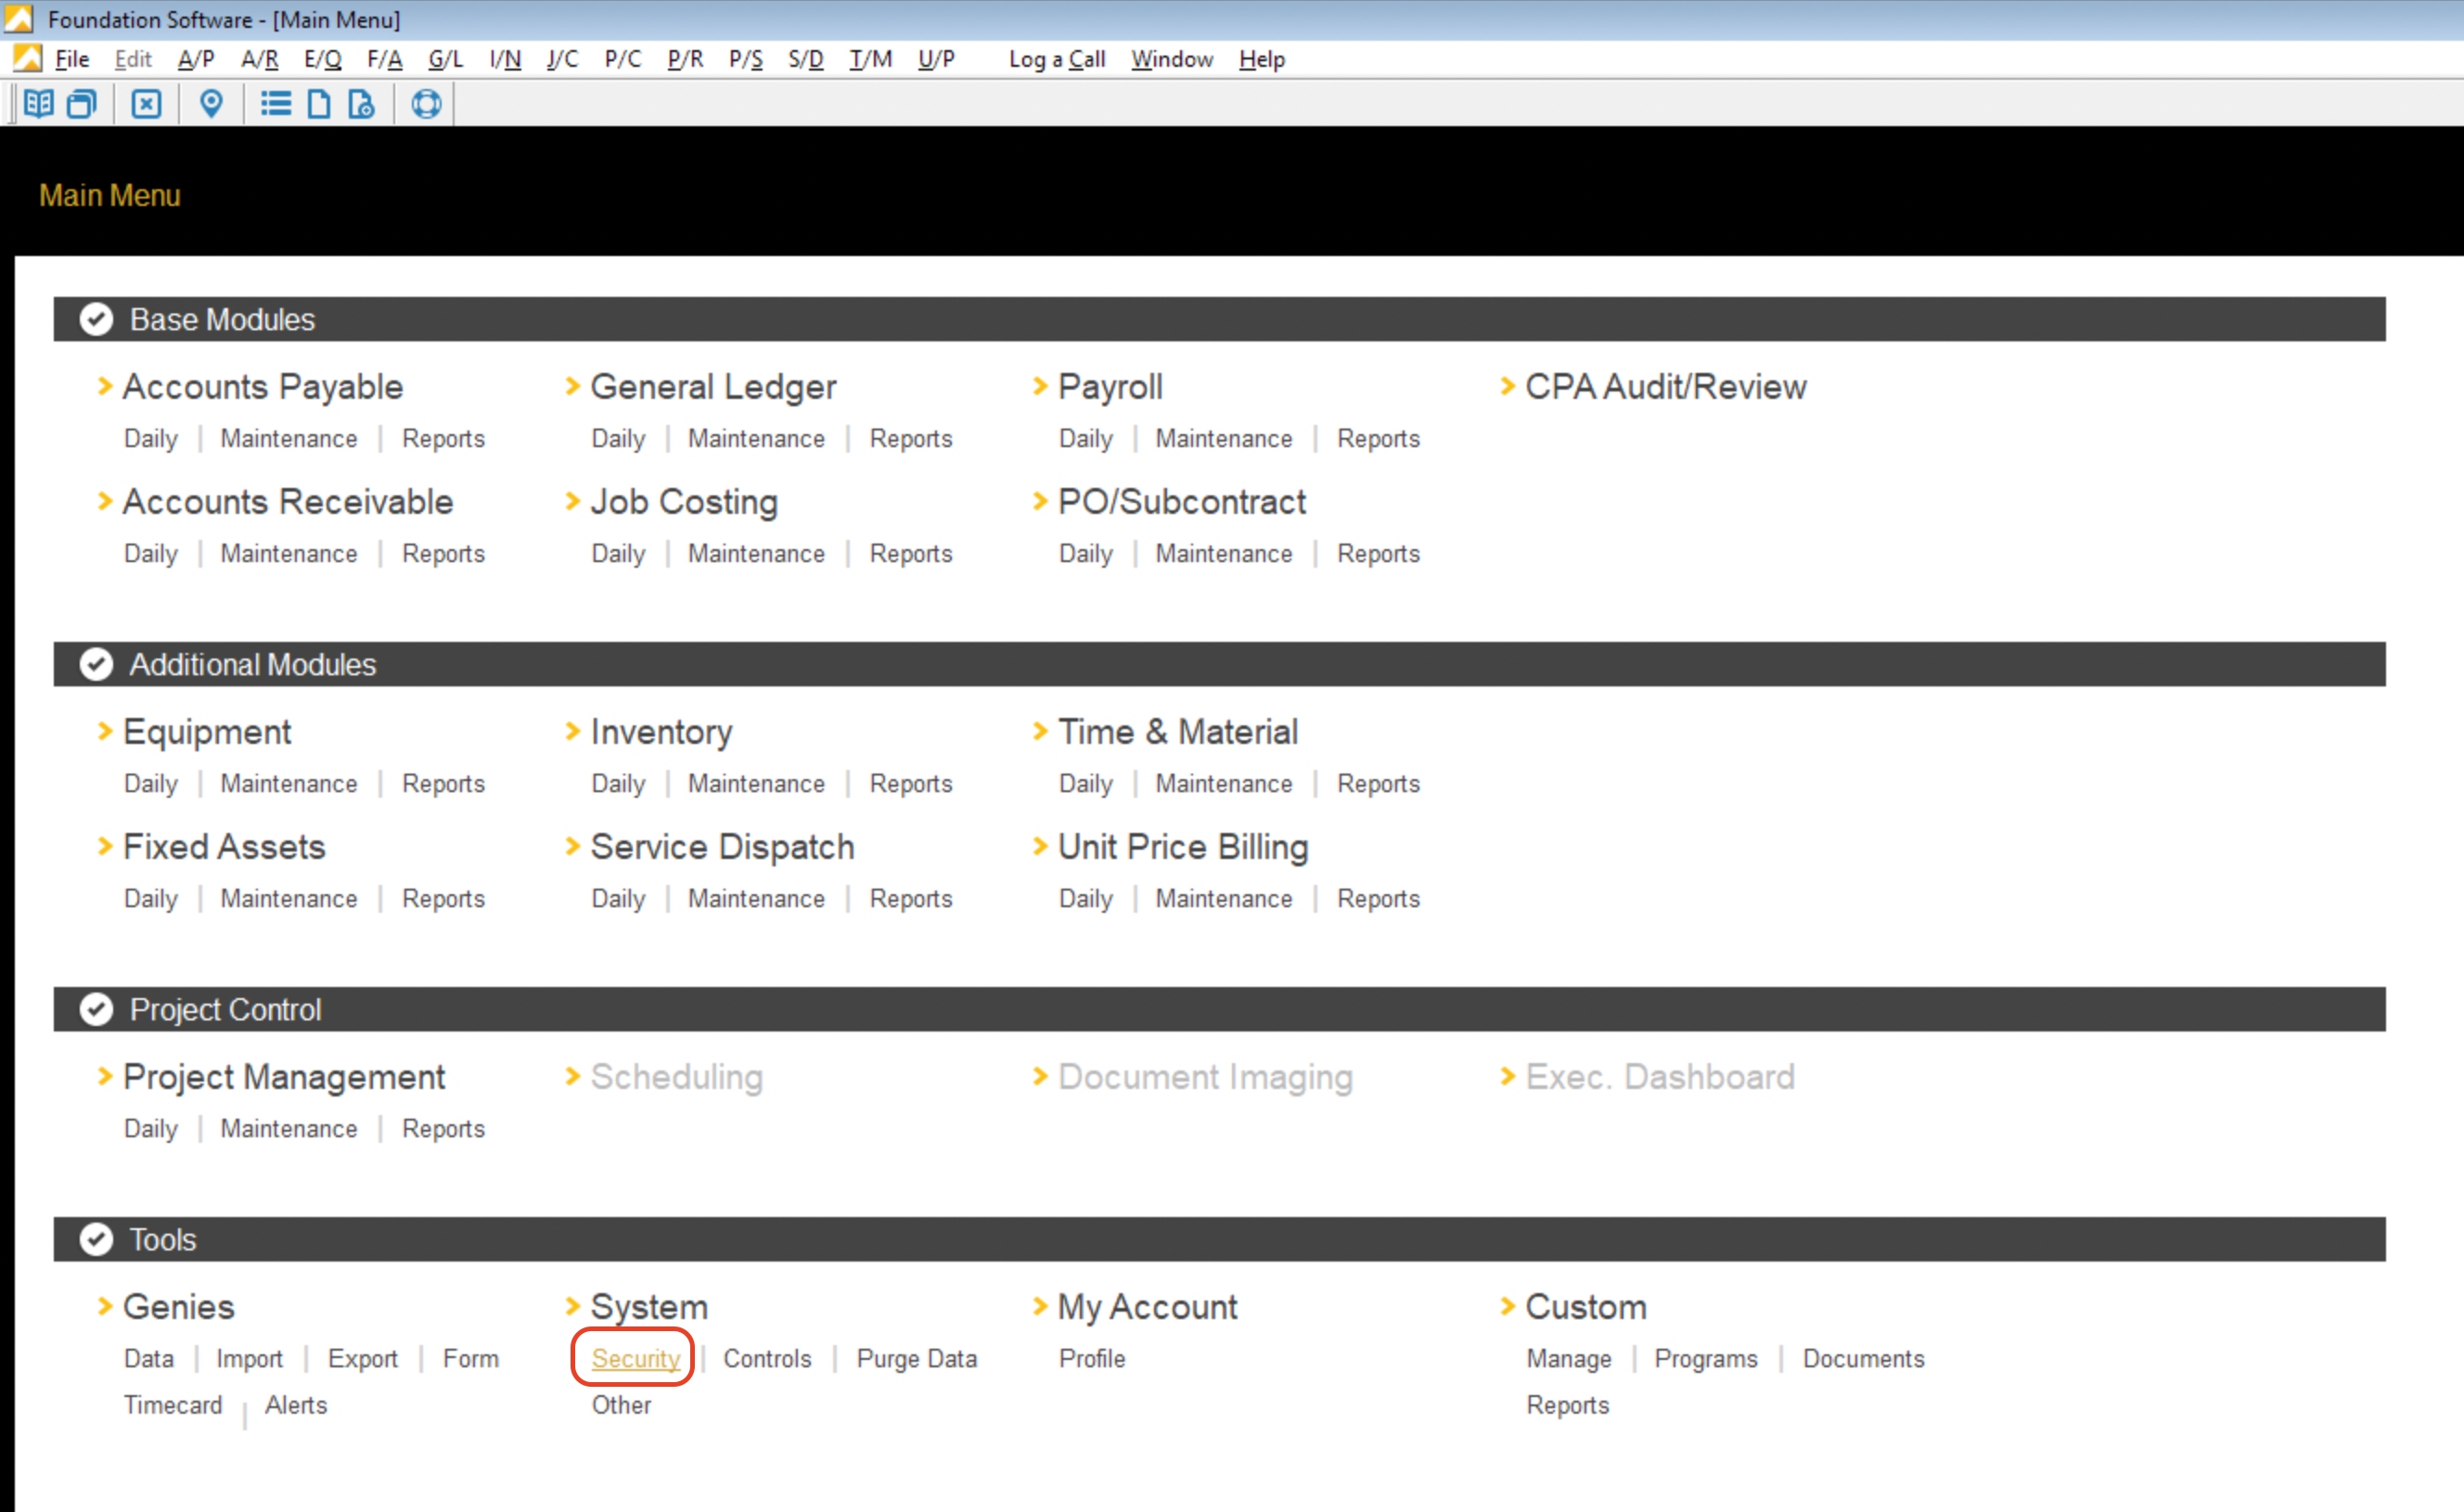
- From the Foundation main menu, under Tools and System, select Security:
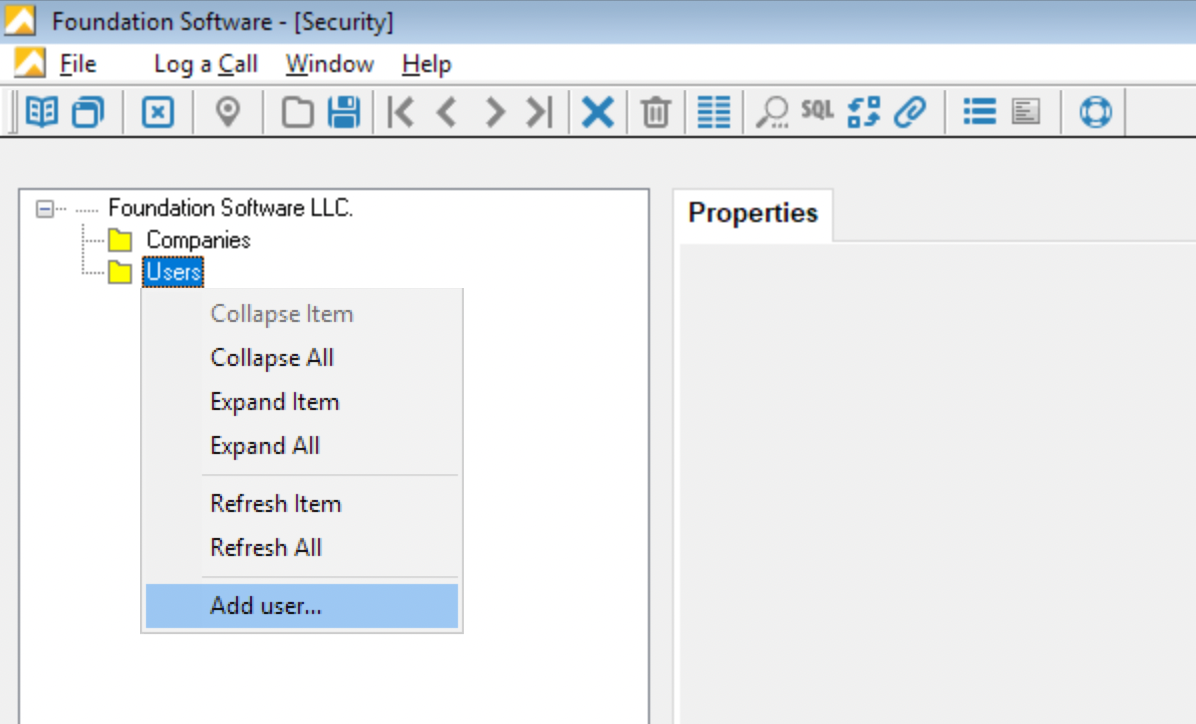
- Press the + sign, then Foundation Software LLC --> Companies --> Users. Right click the Users folder and select Add user...:
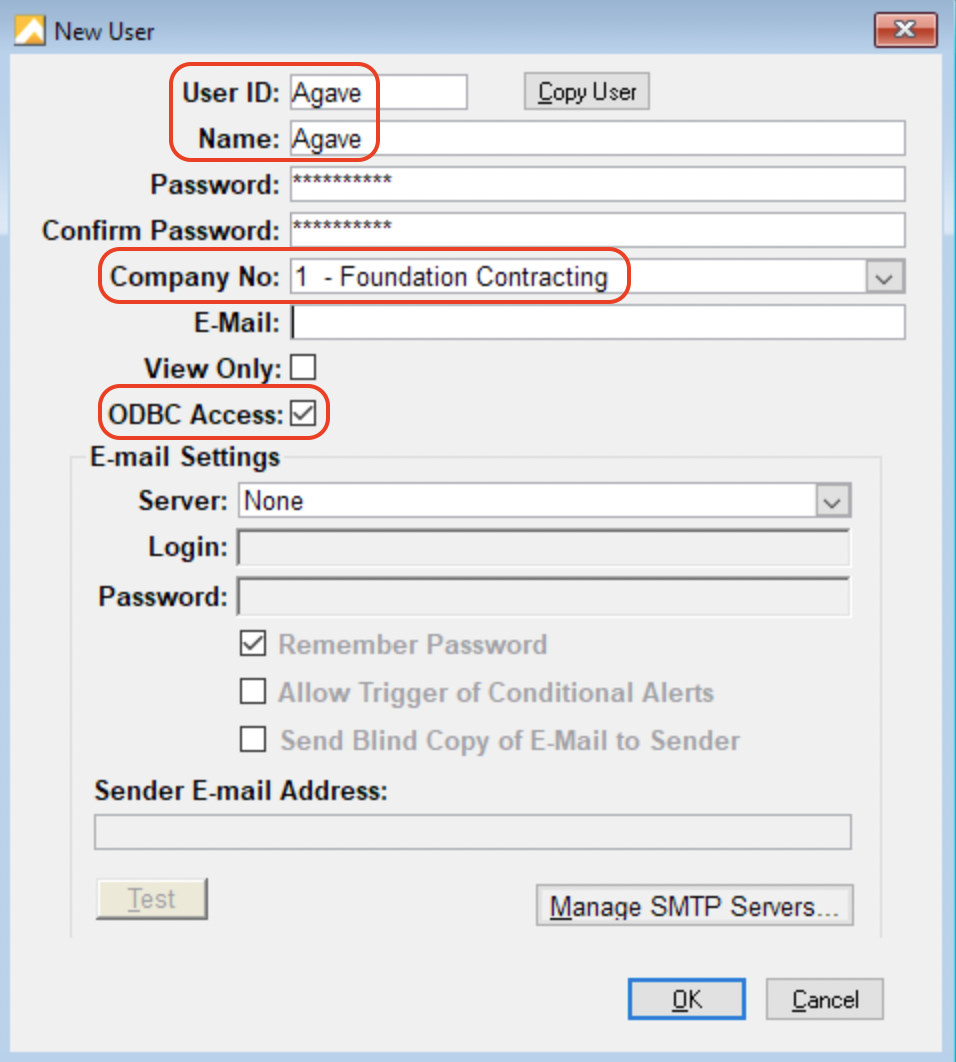
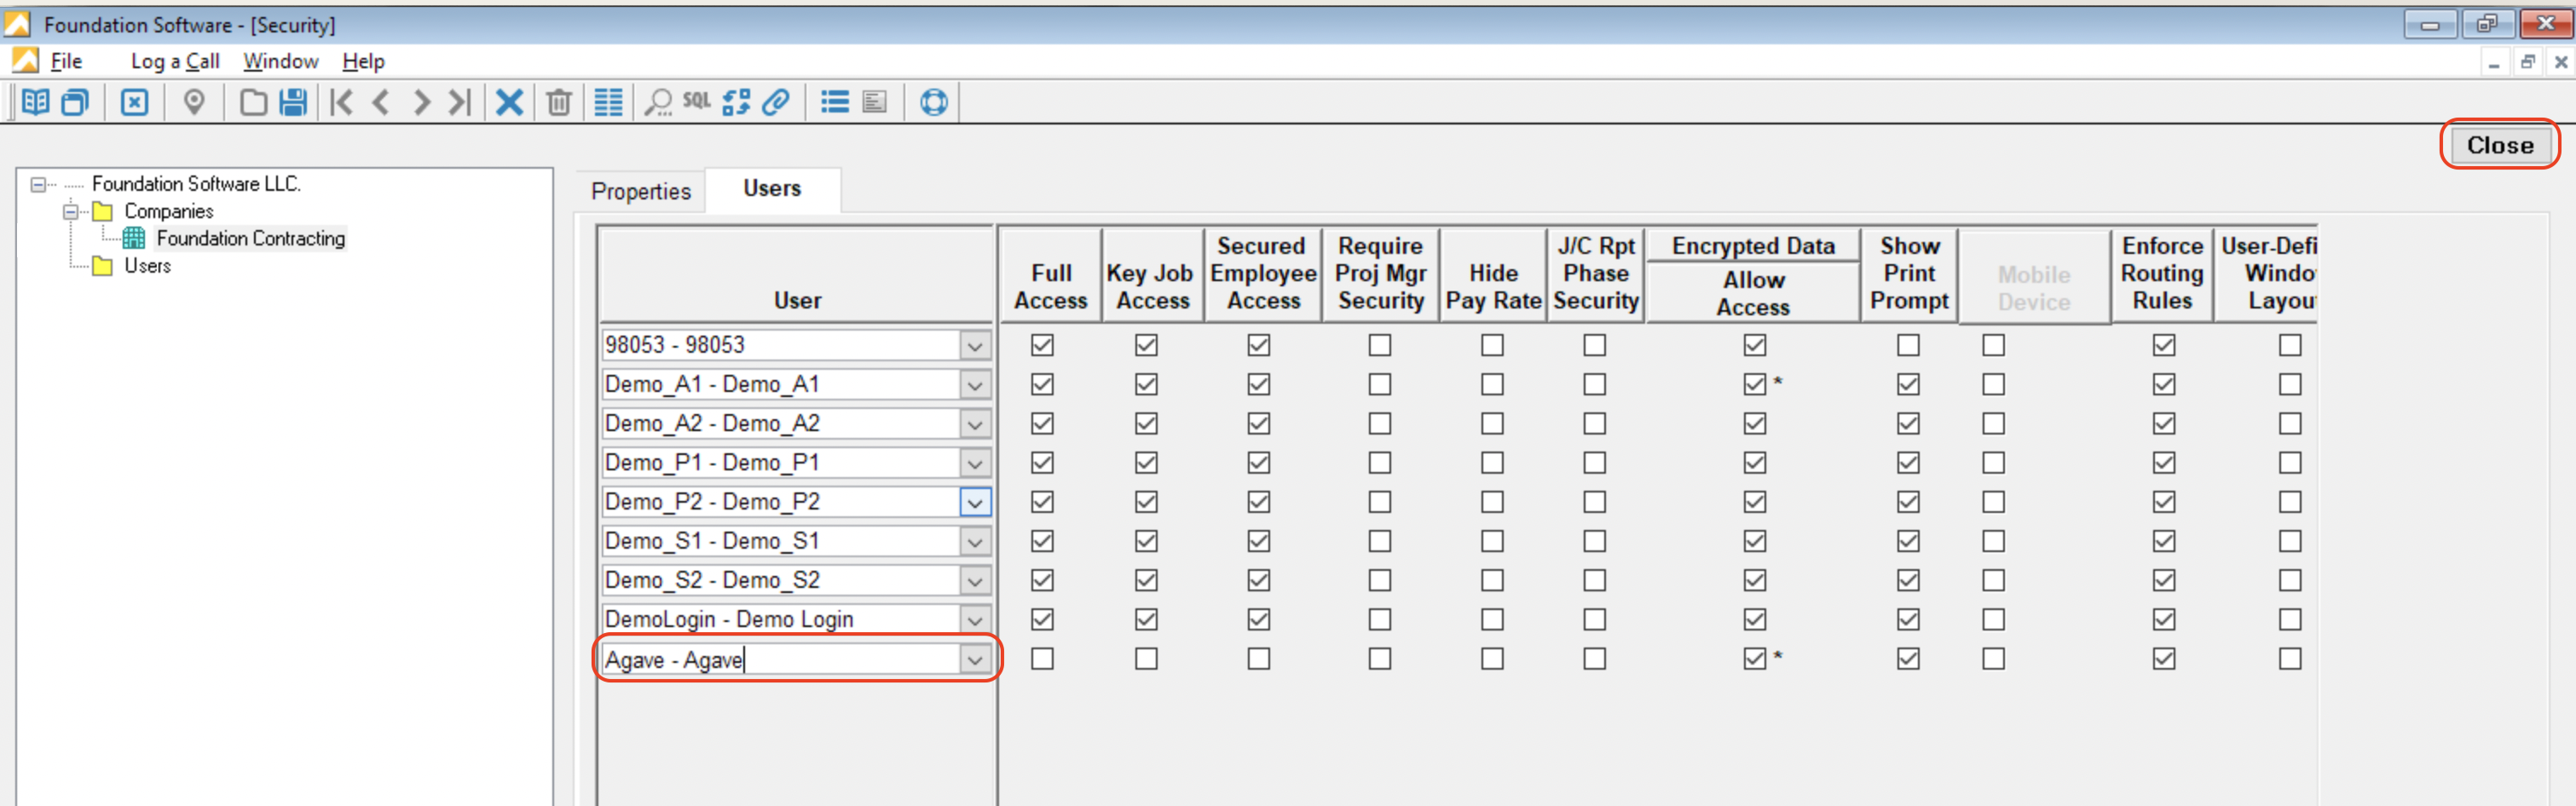
- Add a User ID named "Agave", select your Foundation Company, and make sure this user has ODBC Access enabled. Then press Save.
Make sure to use "Agave" for the User ID since this is a requirement from Foundation.
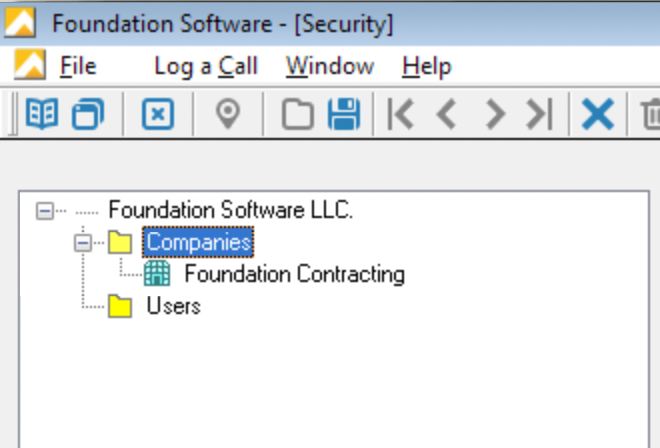
- Double-click on Companies, and then press your Company:
- Press the Users tab. Right click in the User column and select Add:
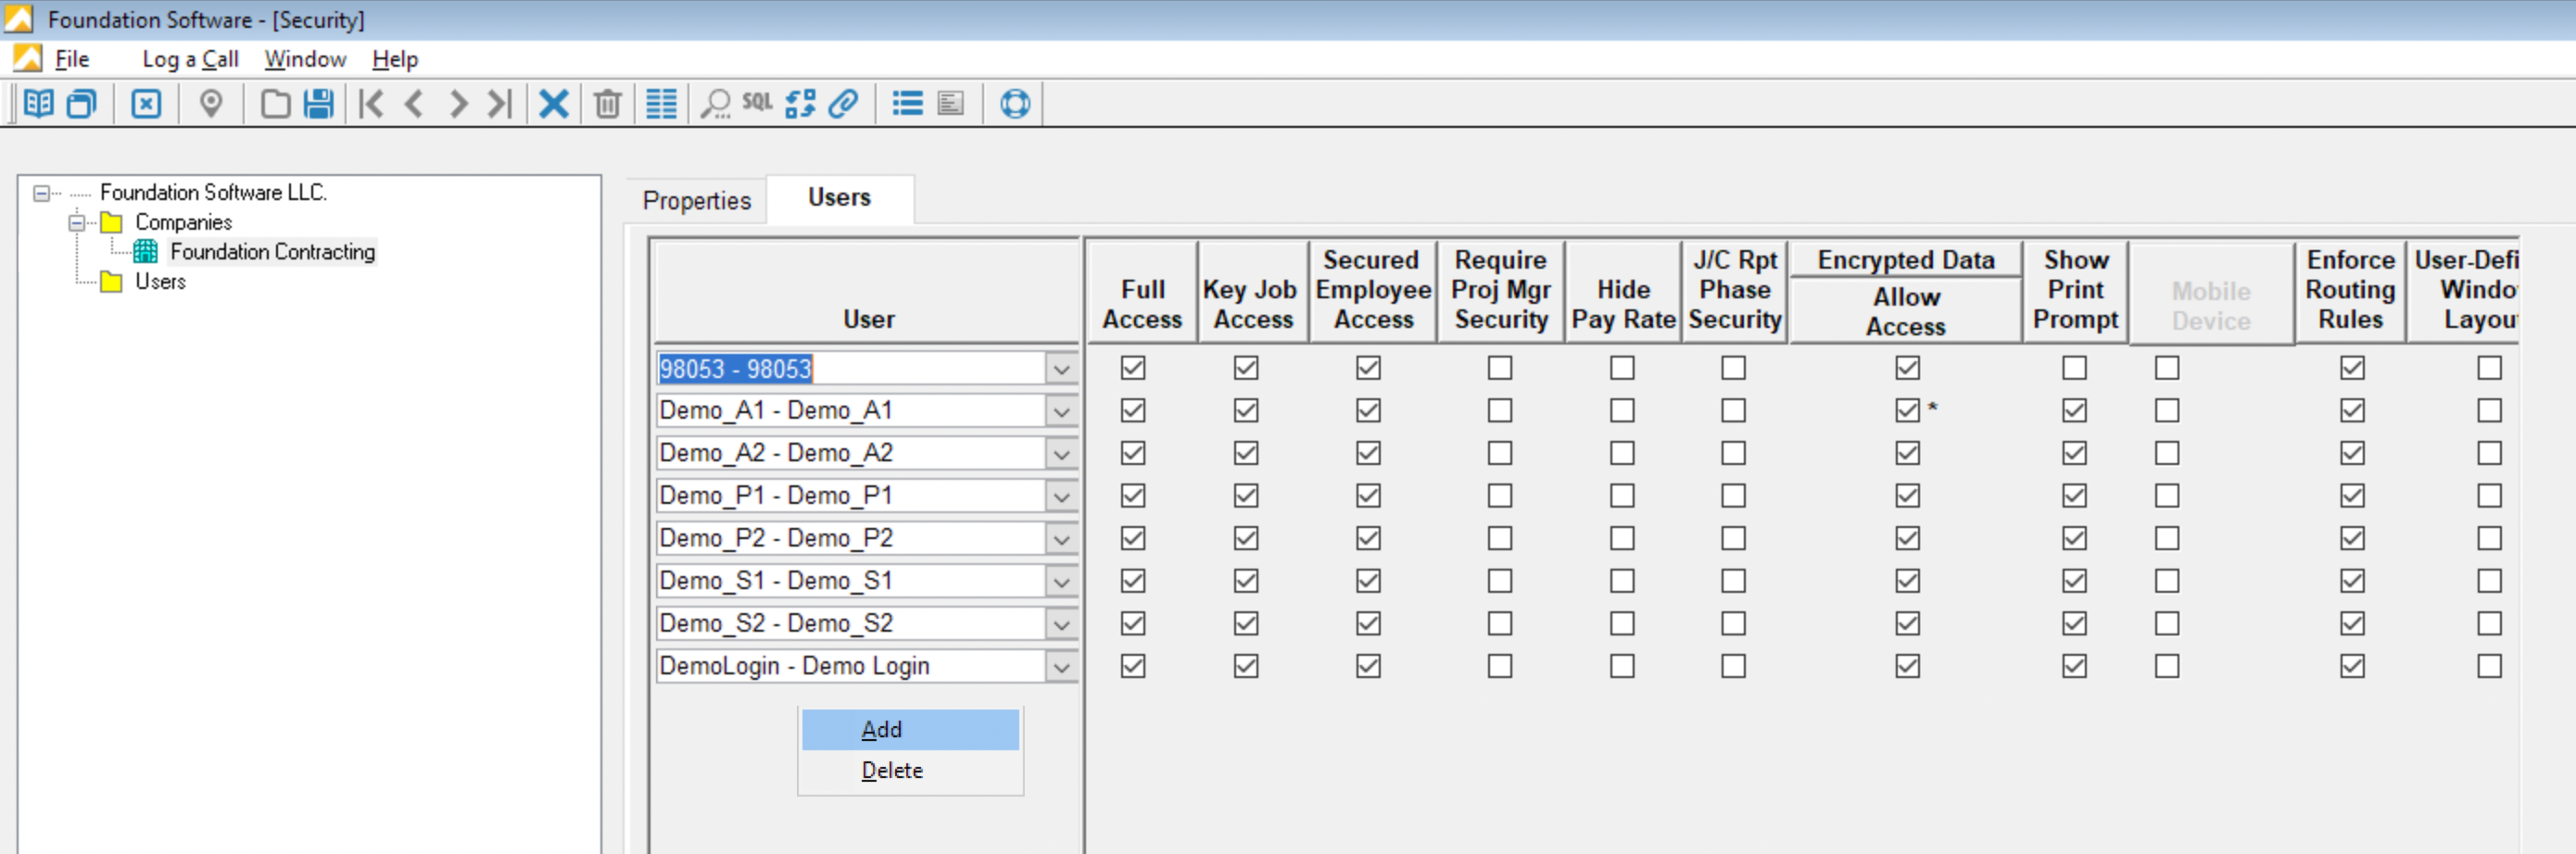
- Enter the "Agave" User, and then press Close. Press Yes when prompted to save your changes.
How do I determine my database name?
To determine your Foundation database name:
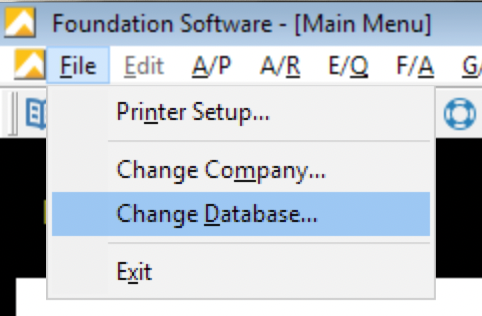
- From anywhere in Foundation, select File--> Change Database:
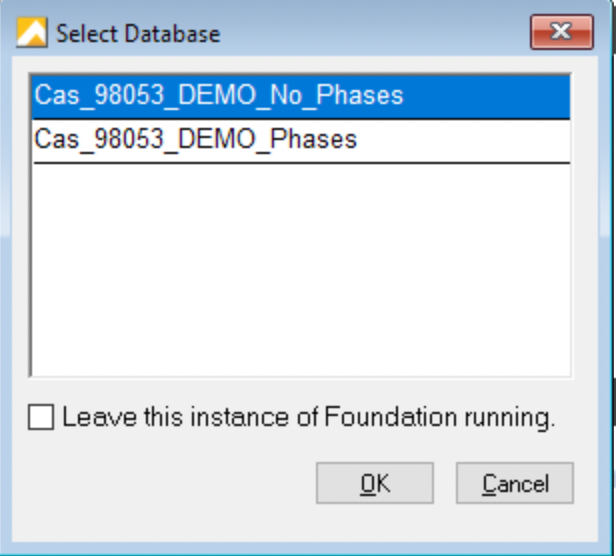
- A list of your database names will appear:
Step 3: Notify Agave to Make the Connection
Noting your Agave Account Manager that you are ready to connect Foundation to your PM System!
Module 2: FSI Importer Setup
Agave uses Foundation's FSI Importer to safely create invoices in Foundation. Follow this guide to set up the FSI Importer and Agave Connector on your computer so invoices can flow automatically from the Agave platform into Foundation.
Step 1: Download the FSI Importer
-
Log in to the Foundation Client Portal.
-
If you are a Foundation Cloud (Hosted) Customer, go to Resources-->Downloads. If you are a Foundation On-premise Customer, go to Resources-->Software Releases.
-
Select the download icon for the FSI Importer.
-
Once the file has downloaded, go to your Downloads folder and open the .exe file. This will start the installation process for the FSI Importer.
-
Finish the installation process.
Step 2: Set up ODBC access for the FSI Importer
To use the FSI Importer with Agave Sync, you will need to set up Microsoft Open Database Connectivity (ODBC) access to your Foundation instance.
Download and Install the ODBC Driver
- Go to the Microsoft website and download the Microsoft ODBC Driver for SQL Server 18 (x64)
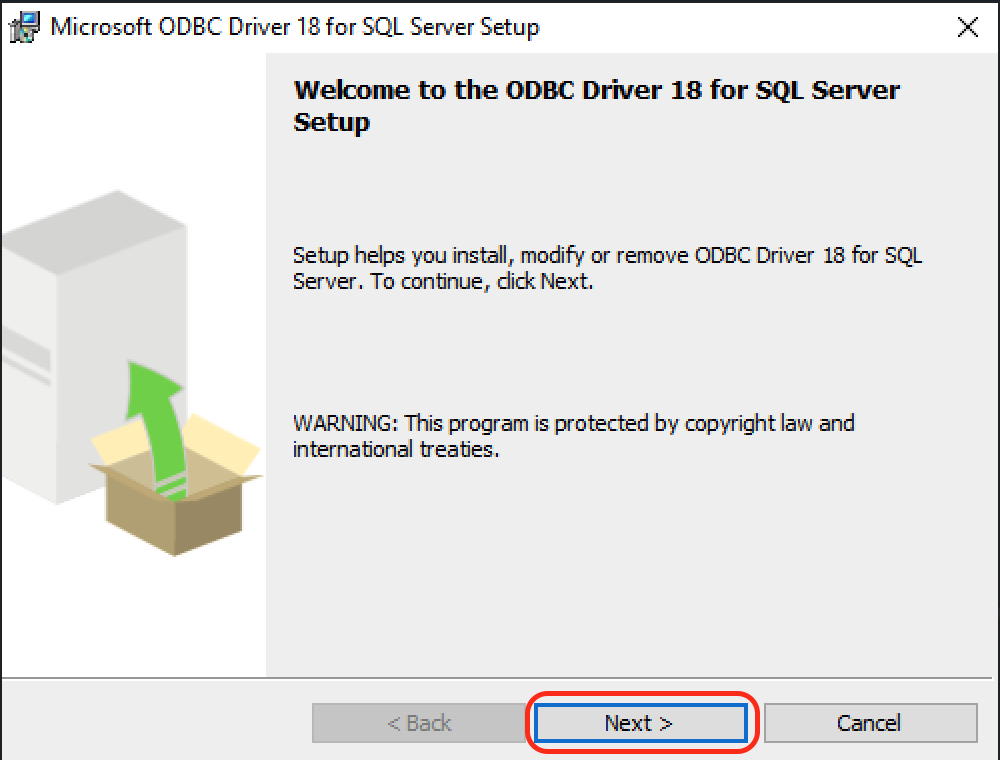
- Double click on the msodbcsql.msi file that you downloaded

- This will open up an Installation Wizard, click Next
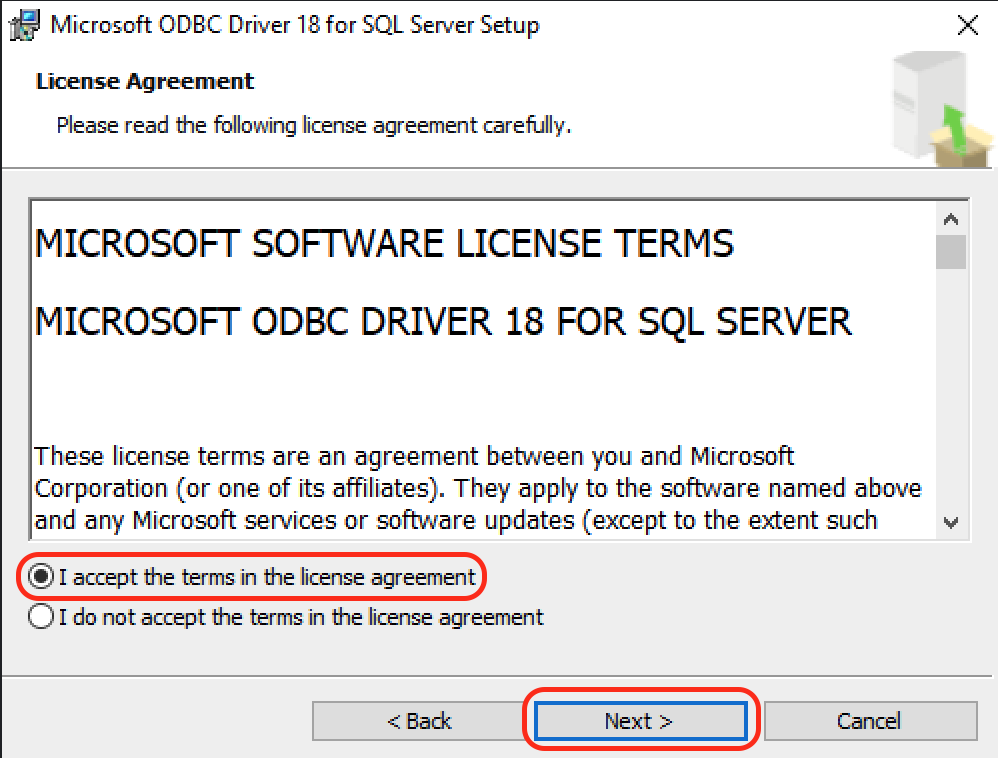
- Accept the agreement terms, click Next
- Select Client Components, click Next

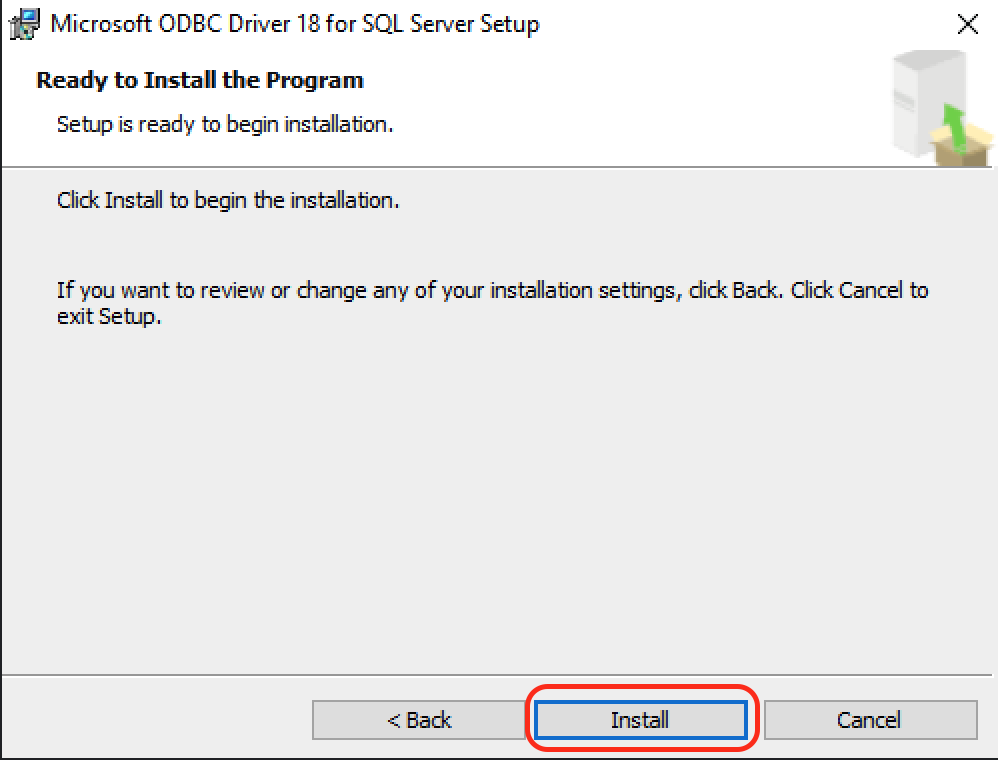
- On the next screen, click Install
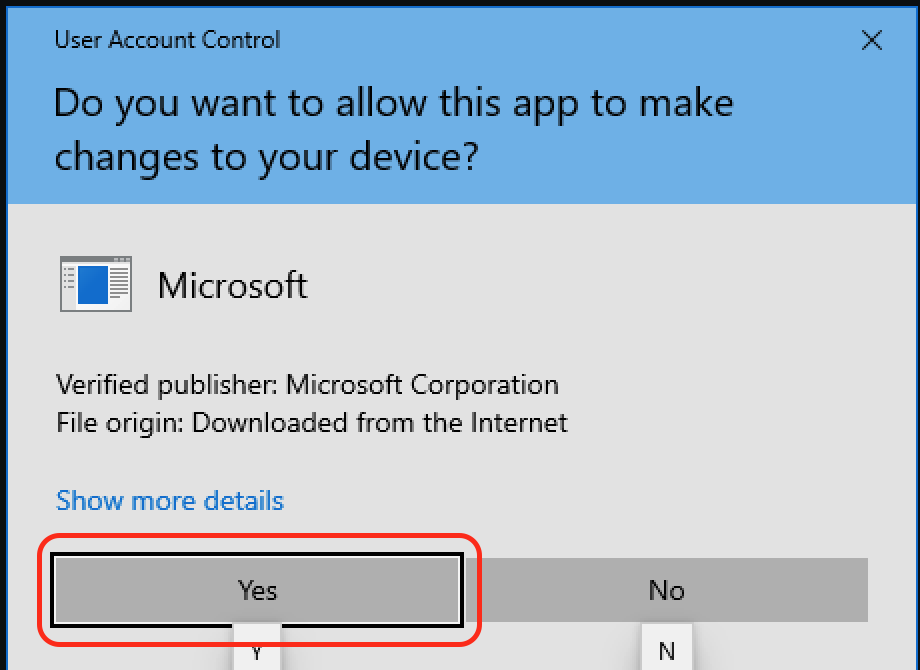
- You may encounter a User Account Control prompt, click Yes
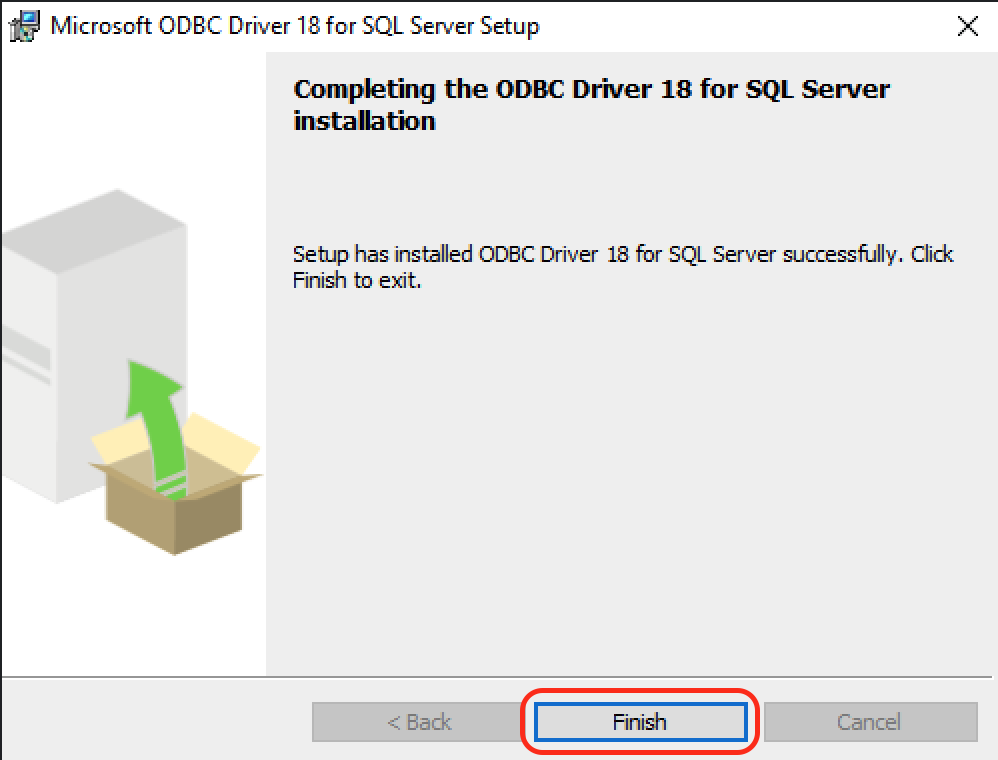
- Click Finish to complete the installation of the driver
Configure the ODBC Driver
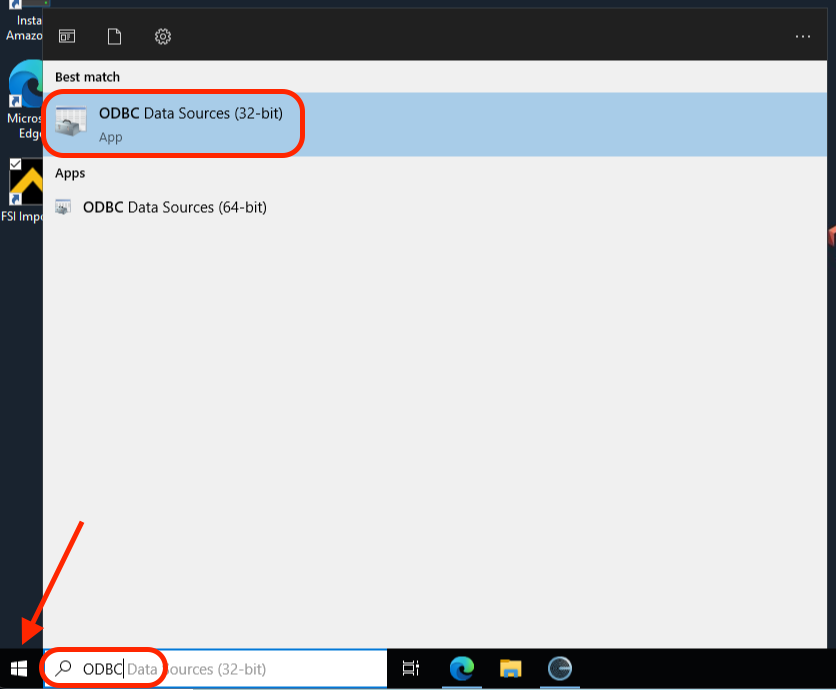
Make sure to open ODBC Data Sources (32-bit) when configuring the driver. Using the 64-bit version will lead to errors.
- Open the Start Menu and search “ODBC”, then open the ODBC Data Sources (32-bit) application
- Switch to the System DSN tab, click Add
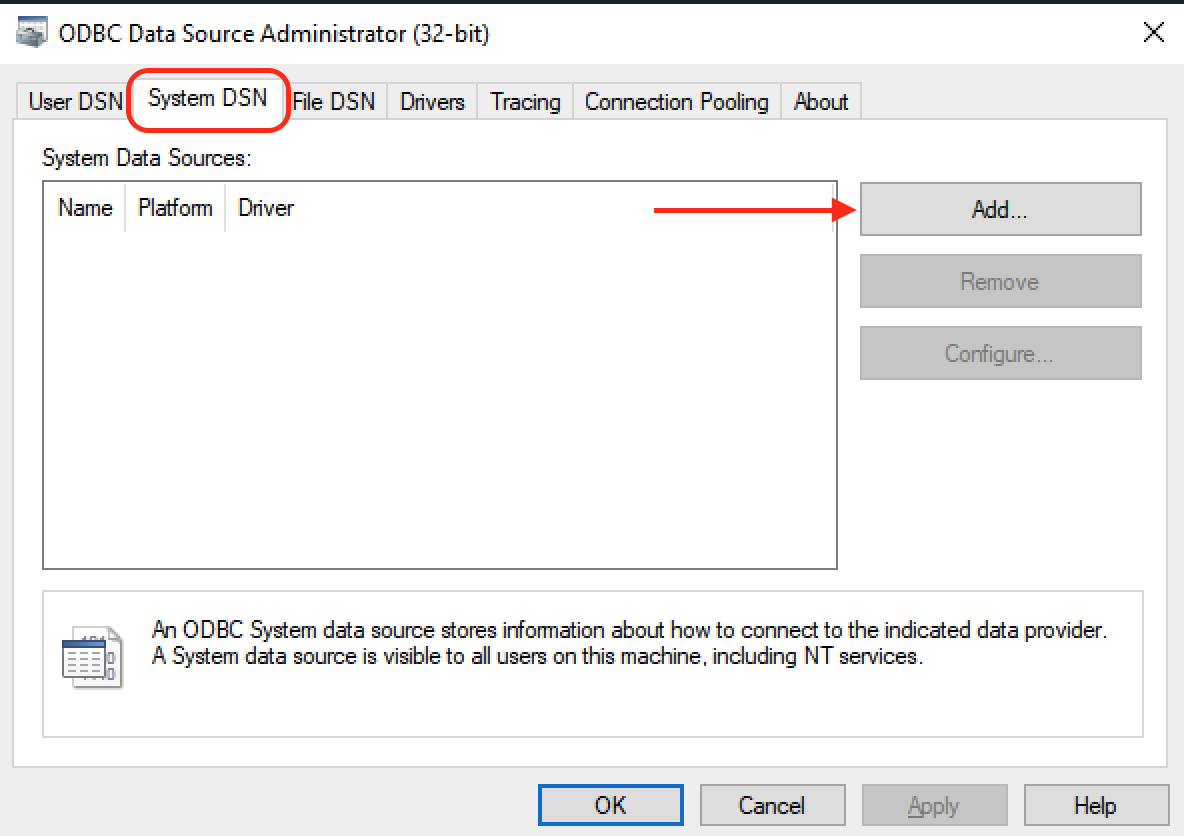
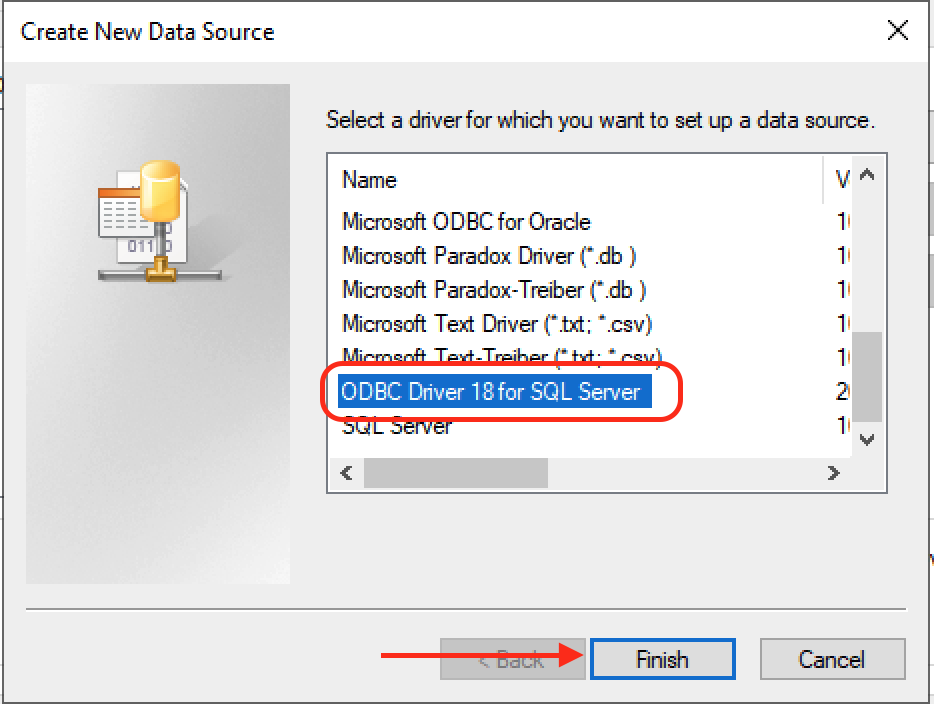
- Select ODBC Driver 18 for SQL Server, click Finish
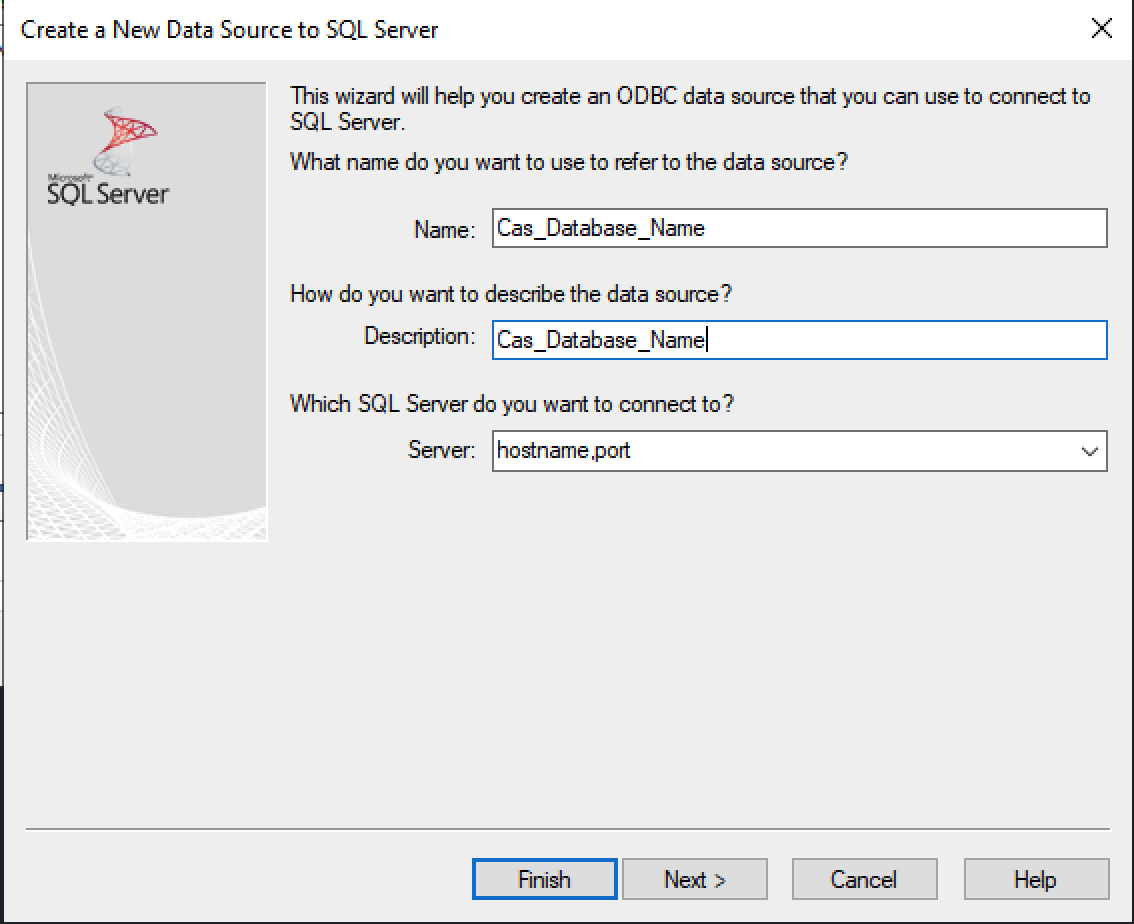
- In the Name and Description fields, enter the name of your Foundation database (usually looks like
Cas_xxx). You will also need to enter the hostname and port for your Foundation server in the Server field.
- For hosted Foundation instances:
sql.foundationsoft.com,9000 - For on-premise Foundation instances: enter the hostname (this will be a domain or IP address) and the port that we are using to connect to your server (e.g.,
xxx.xx.x.xx,4243)
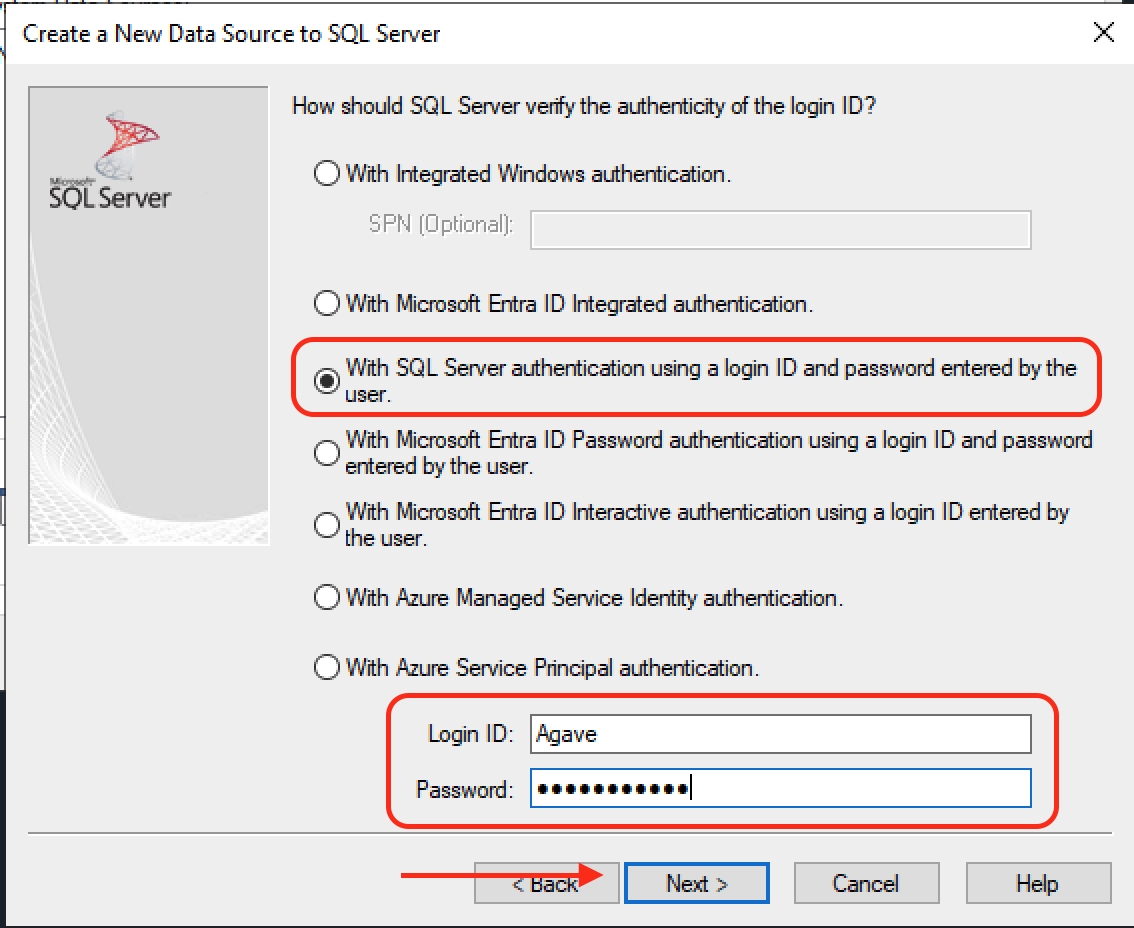
- Select With SQL Server authentication using a login ID and password entered by the user, then enter the credentials for the Agave user you created into the Login ID and Password fields, click Next
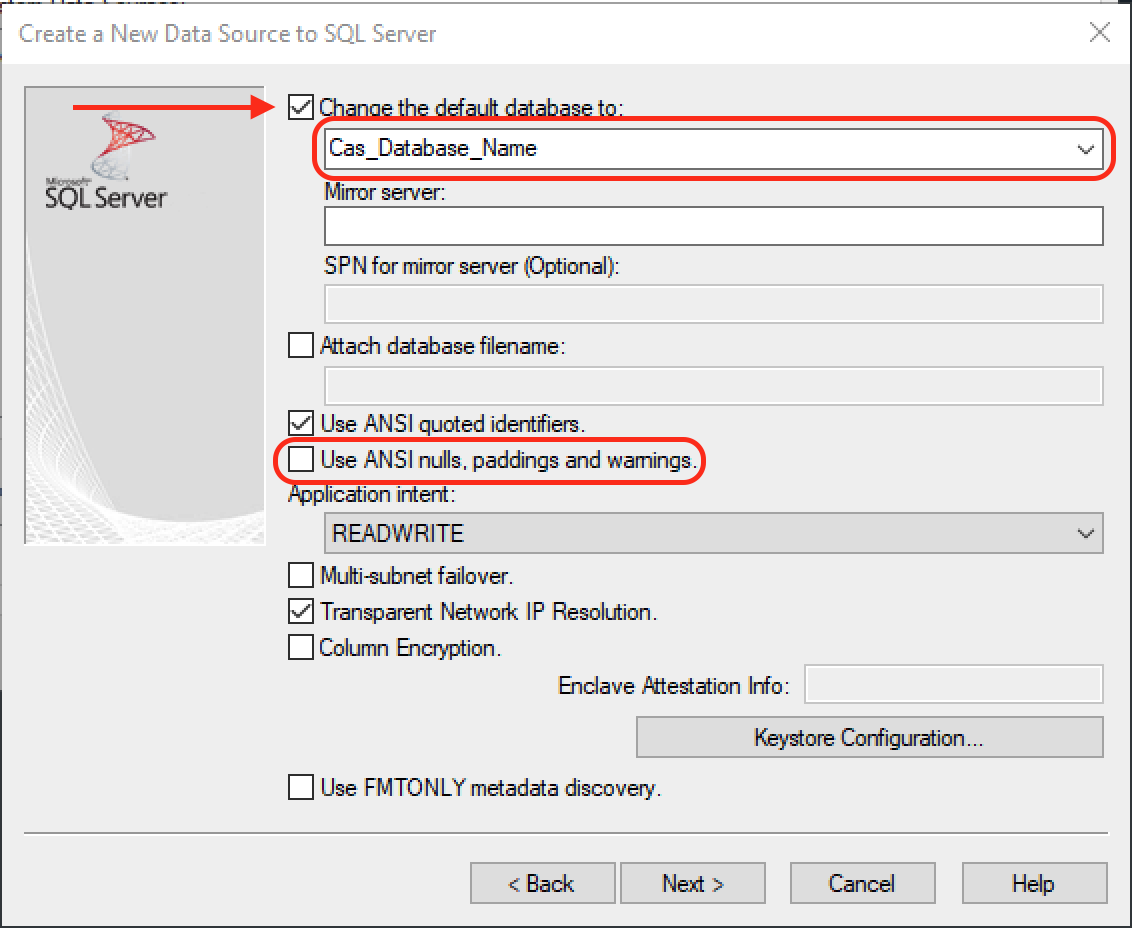
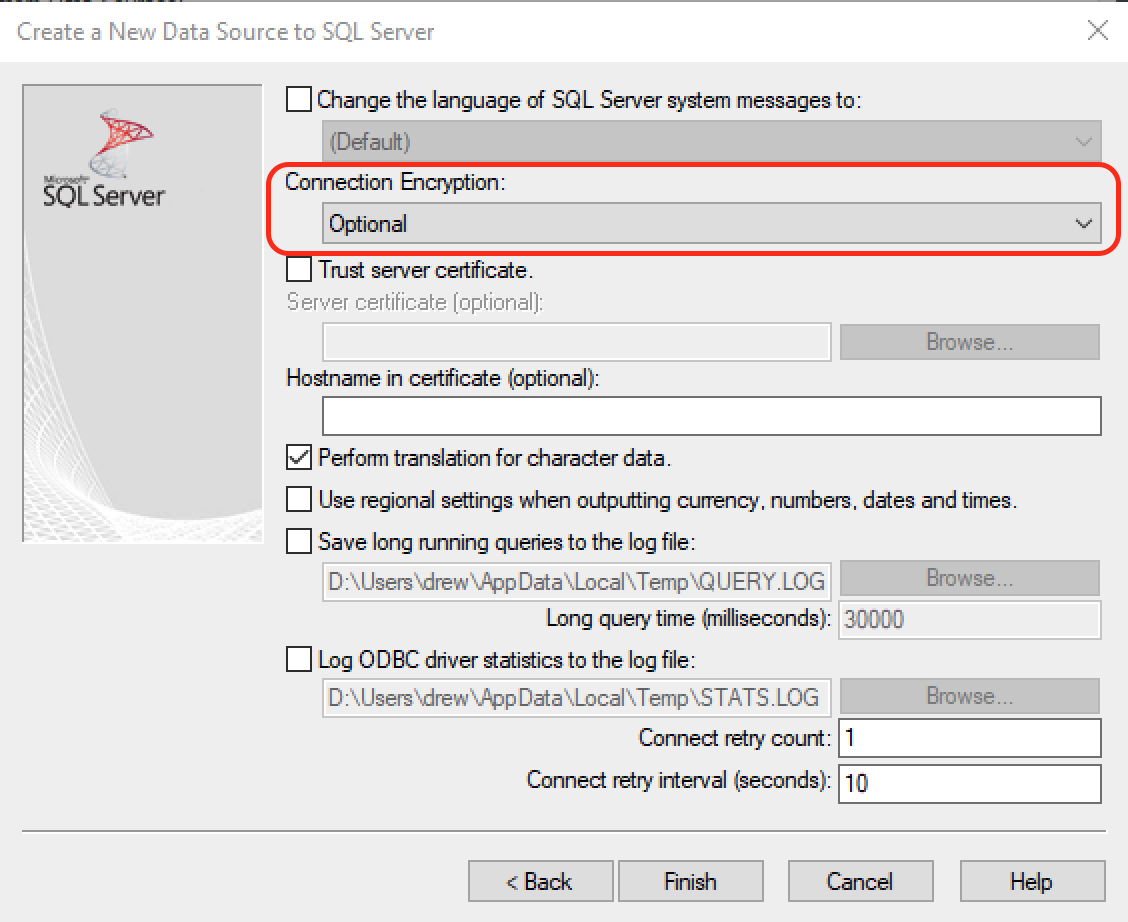
- Check the Change the default database to checkbox, then type in your Foundation database name. Also, uncheck the Use ANSI nulls, paddings and warnings checkbox, click Next
- In the Connection Encryption dropdown box select Optional, click Finish
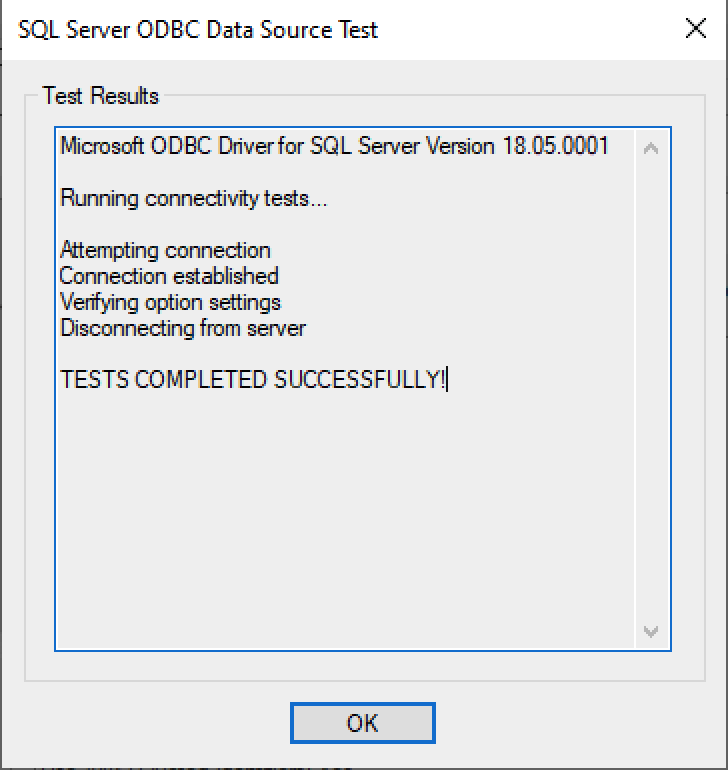
- Click Test Data Source... to test the connection
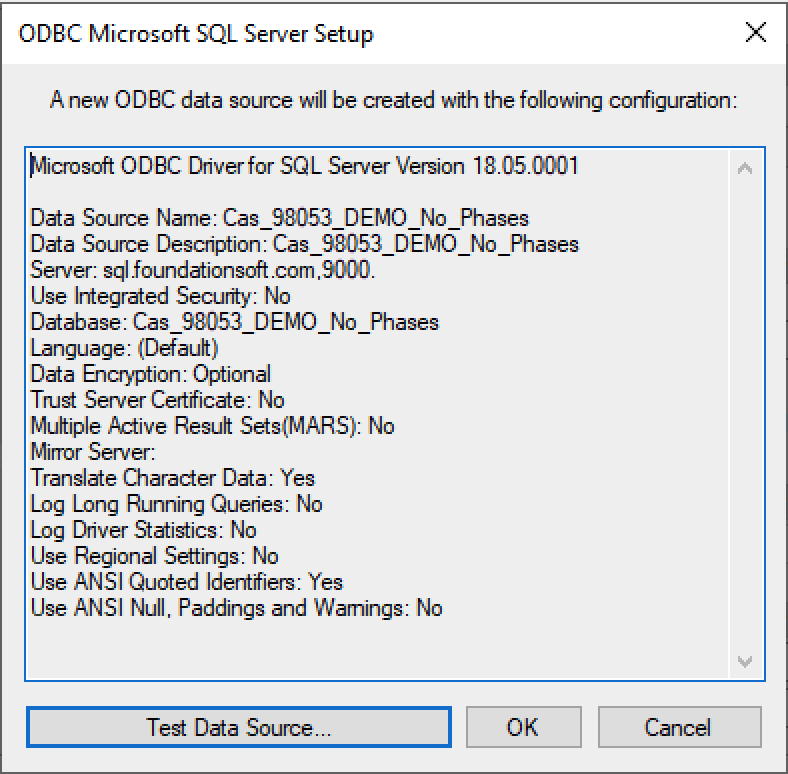
- If the test was successful, you will see this message, just click Ok to save the configuration
- If the test was unsuccessful then it is likely due to an incorrect password
- If you've confirmed that the password is correct, then complete steps 1-8 again and retry the connection test
Step 3: Set up the Agave Connector
-
Ask your Agave Account Manager for a link to the Agave Connector. Then download and install it.
-
Open the Agave Connector and press Add Account.
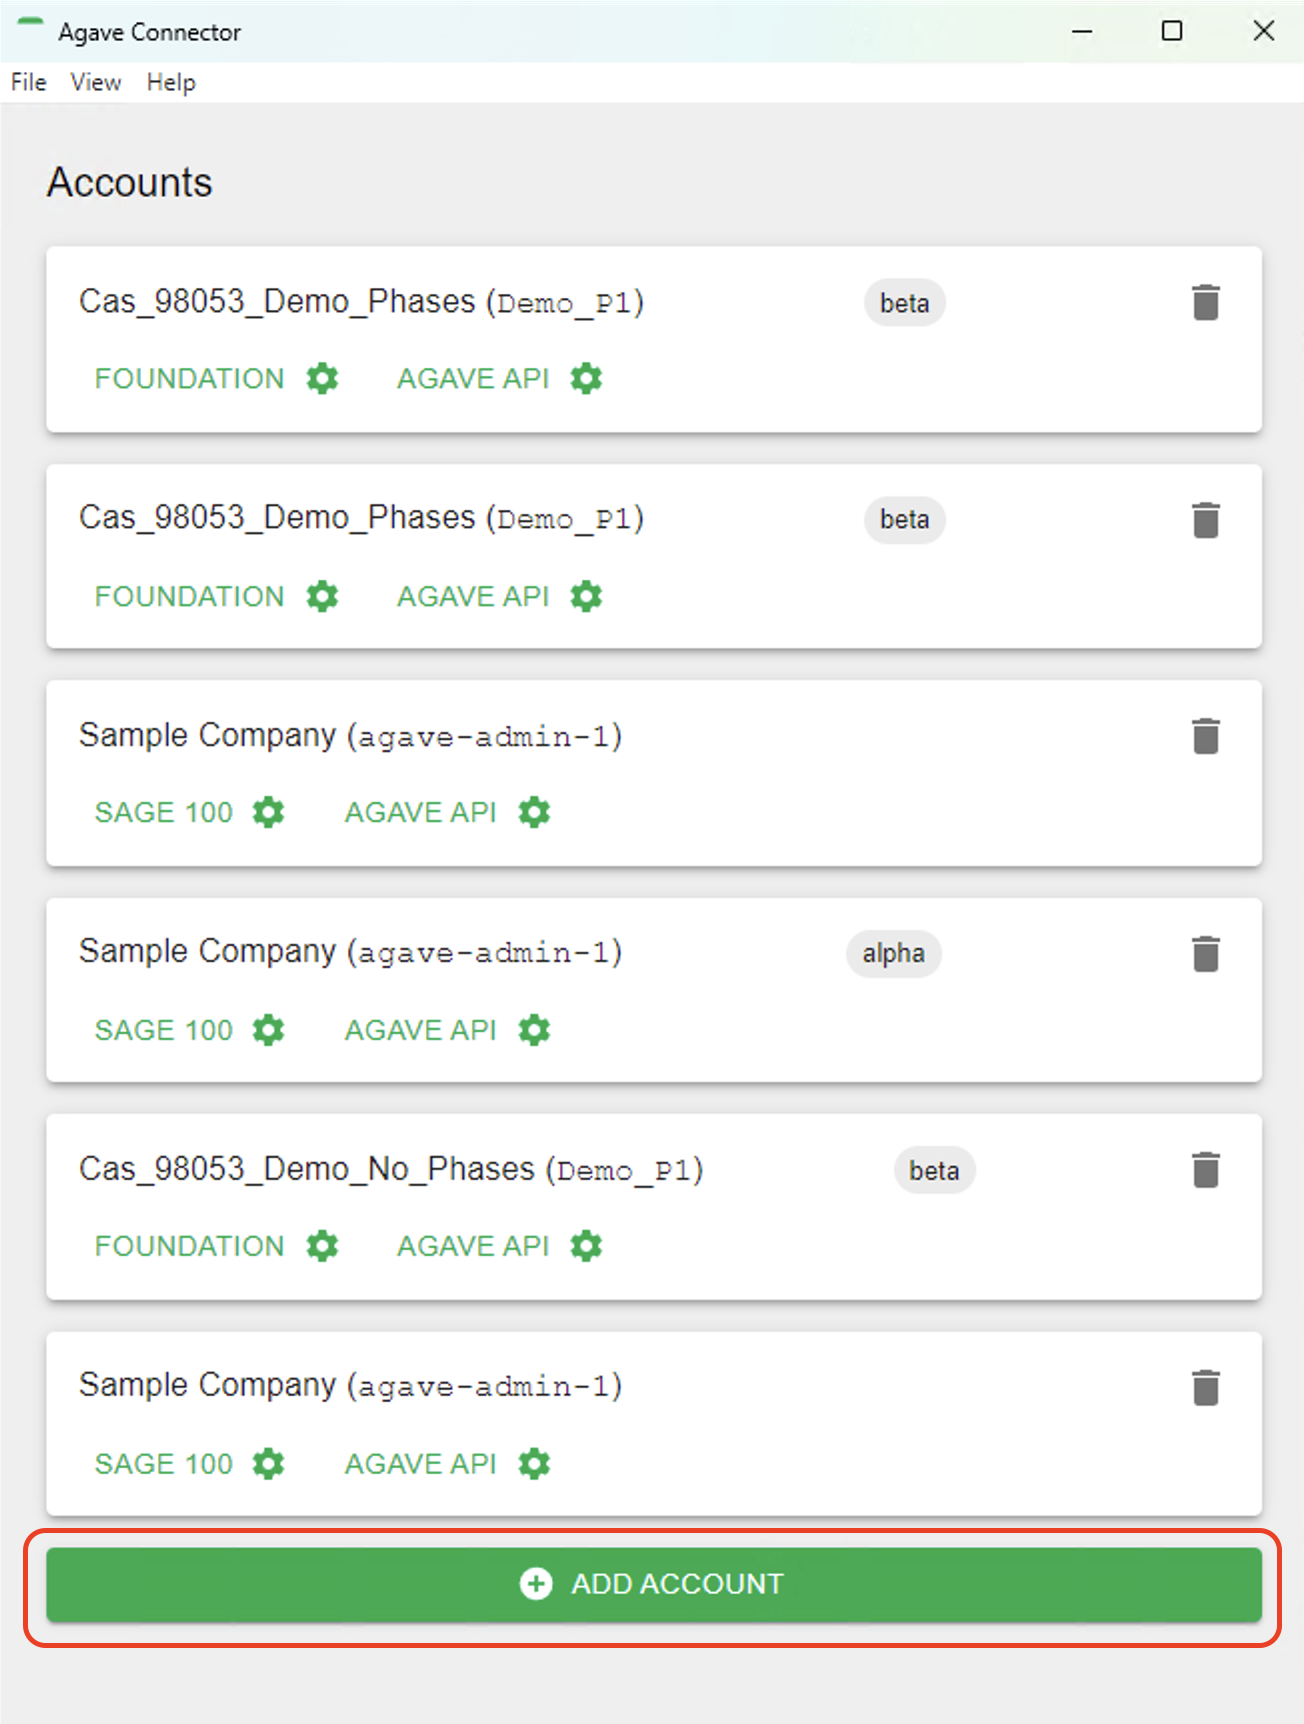
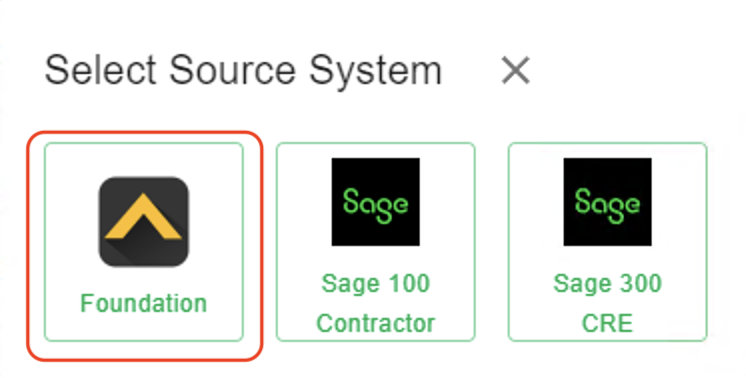
- Select Foundation as your Source System.
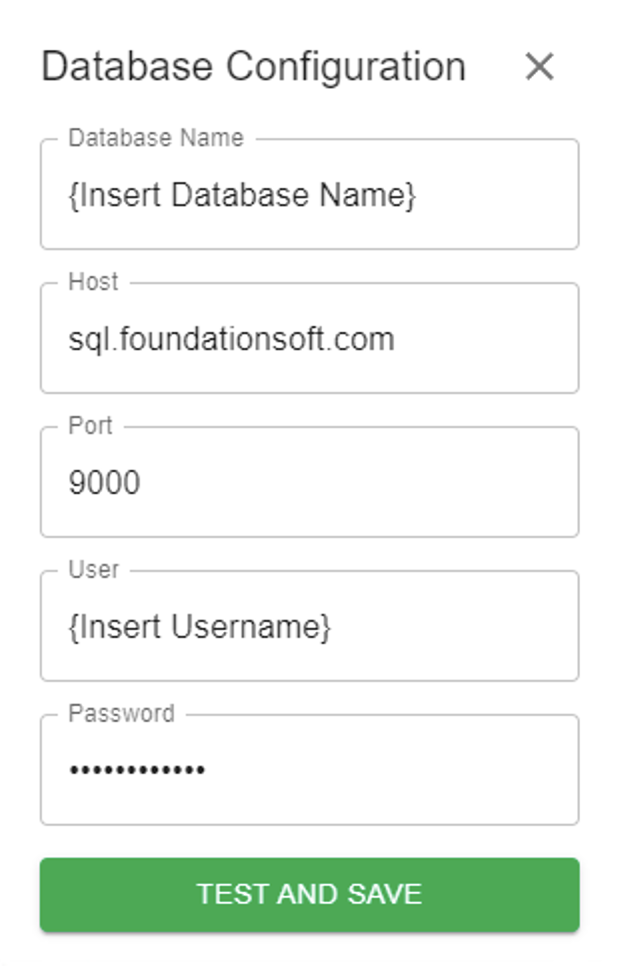
- Input details for your Foundation user you use in Agave Sync, and then press Test and Save. Note, these are the same credentials you used for connecting Foundation to Agave Sync.
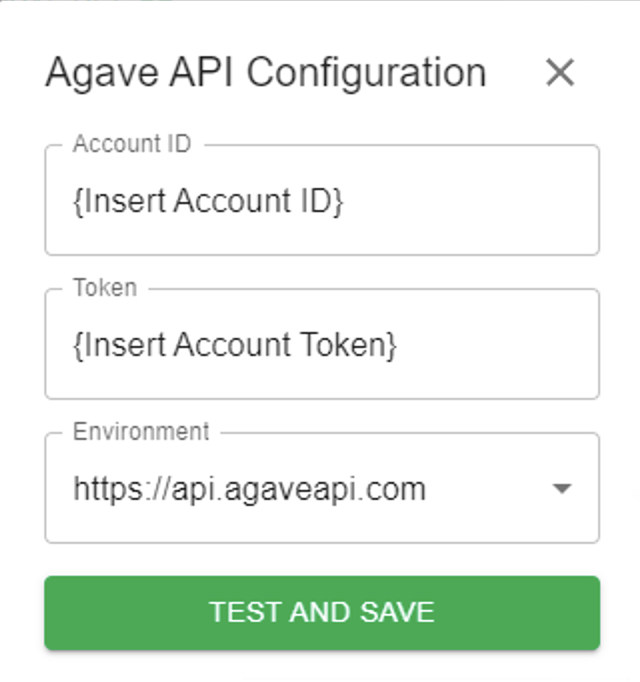
- Notify your Agave Account Manager that you have completed the foregoing step and ask for an Account ID and Token. Input these details in the next screen and then press Test and Save:
- Notify your Agave Account Manager that you have completed the foregoing step. They will then be able to confirm that you can export AP Invoices to Foundation.